SPA Authentication
Add Authentication to the SPA using Amazon Cognito User Pools
In this exercise, we will make use of the Cognito User Pool and Identity Pool, and mark one of our API endpoints as requiring authentication via Cognito User Pools.
- On your local filesystem, locate the file
webapp-configuration.jsin thescriptsdirectory of the web site bundle you have downloaded and exploded. This file has the following contents:
(function () {
    'use strict';

    angular
        .module('app')

        .constant('COGNITO_IDENTITY_POOL_ID',   'REPLACE_WITH_COGNITO_IDENTITY_POOL_ID')
        .constant('COGNITO_USER_POOL',          'REPLACE_WITH_COGNITO_USER_POOL')
        .constant('COGNITO_USER_POOL_CLIENT_ID','REPLACE_WITH_COGNITO_USER_POOL_CLIENT_ID')
        .constant('COGNITO_APP_WEB_DOMAIN',     'REPLACE_WITH_S3_BUCKET_WWW')

        .constant('AWS_REGION',                 'ap-northeast-1')
        .constant('APP_BANNER',                 'TravelBuddy')

})();
The SPA is implemented using the Angular framework, which allows you to define global constants that are used as configuration variables throughout your application. This file defines the values of the configuration variables that you need to set based on your AWS Account’s ARNs and Ids for the various Cognito resources. Open the webapp-configuration.js file in a text editor and keep it open while we make changes in the following steps.
- Open the AWS Cognito console by clicking Services and typing
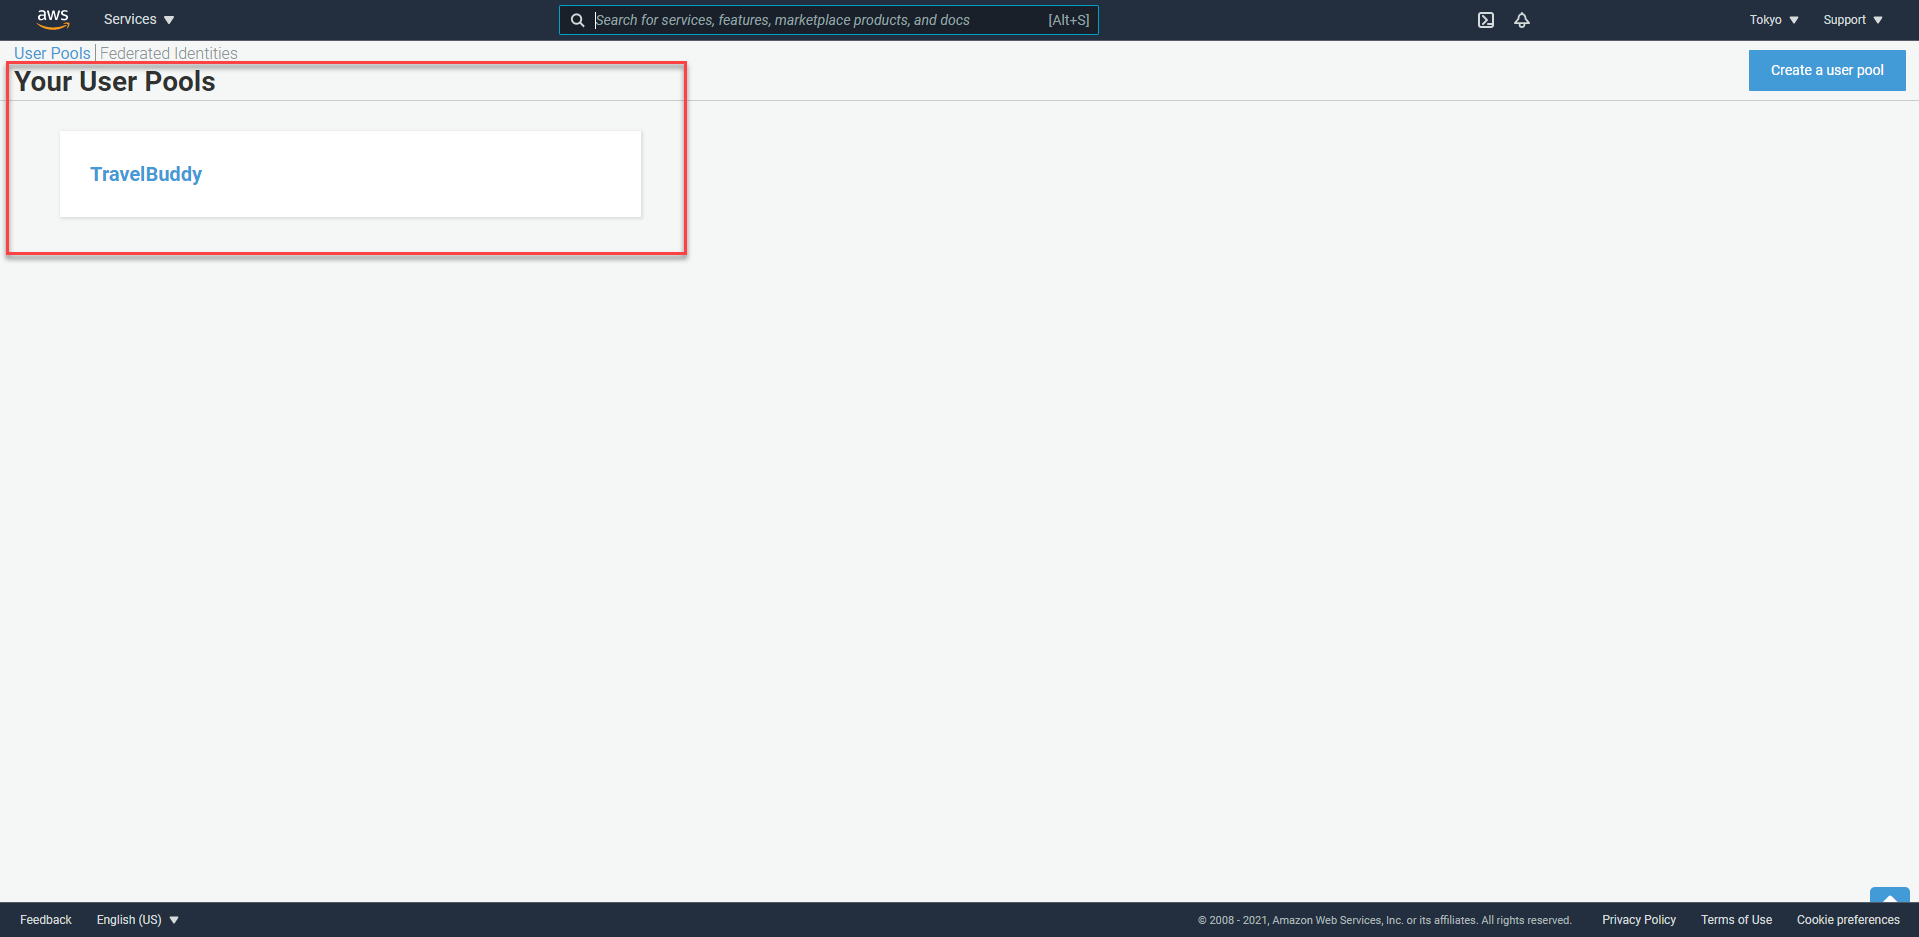
cognitoin the filter box. Press Enter. - Click Manage your User Pools
- Click TravelBuddy
- In the General Settings panel that appears, locate the Pool Id value, and replace the text
REPLACE_WITH_COGNITO_USER_POOLin thewebapp-configuration.jsfile with the value. - Click the App Client settings link beneath App integration in the left-hand navigation panel of the Cognito User Pools page. Locate the
IDvalue beneath the App client TravelBuddyWebApp heading and copy it to your clipboard. For example:
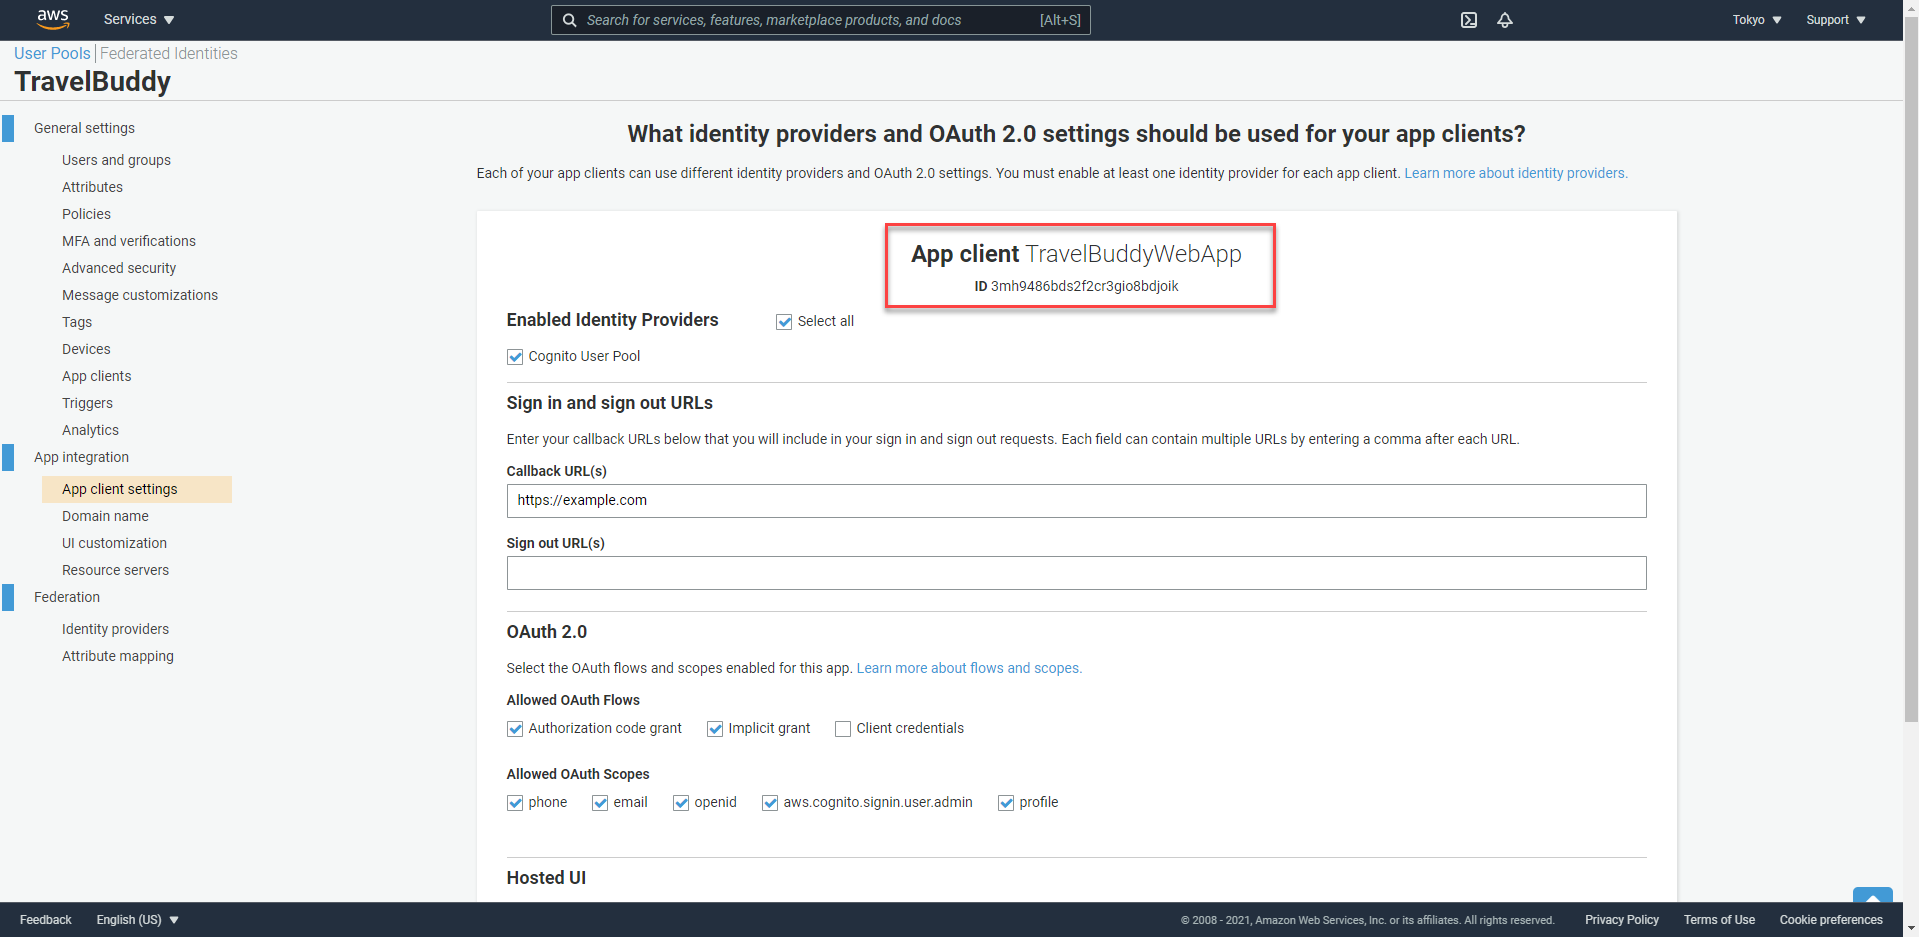
- Replace the text
REPLACE_WITH_COGNITO_USER_POOL_CLIENT_IDin thewebapp-configuration.jsfile with the value of the App client ID. - In the Cognito console, click Federated Identities at the top navigation bar to switch to the Cognito Identity Pools manager.
- Click the TravelBuddy link in the identity pool card that is shown.
- In the dashboard that appears, on the left navigation panel, click Sample code.
- In the Get AWS Credentials section, note the Identity Pool ID is displayed in the sample code. Copy the Identity Pool ID into your clipboard. It will look something like this:
ap-northeast-1:aaaaaaaa-bbbb-cccc-dddd-eeeeeeeeee

Make sure you copy the whole entry, including the region specifier.
- Replace the text
REPLACE_WITH_COGNITO_IDENTITY_POOL_IDin thewebapp-configuration.jsfile with the value of the Identity Pool Id. - In the lab CloudFormation console, in the Additional Info panel, copy the value of
S3BucketWWWwhich is the S3 bucket name for the web hosting bucket you are using to serve your SPA. - Replace the text
REPLACE_WITH_S3_BUCKET_WWWin thewebapp-configuration.jsfile with the value of theS3BucketWWWfrom the Additional Info panel in lab. - The finished
webapp-configuration.jsfile will look something like this:
(function () {
    'use strict';

    angular
        .module('app')

        .constant('COGNITO_IDENTITY_POOL_ID',   'ap-northeast-1:429c1d1c-7a5e-4d53-be18-177b806c53a4')
        .constant('COGNITO_USER_POOL',          'ap-northeast-1_YSRyht4ck')
        .constant('COGNITO_USER_POOL_CLIENT_ID','3mh9486bds2f2cr3gio8bdjoik')
        .constant('COGNITO_APP_WEB_DOMAIN',     'devax-m6-s3bucketwebsite18ddbcd4-19ewci3z6hece')

        .constant('AWS_REGION',                 'ap-northeast-1')
        .constant('APP_BANNER',                 'TravelBuddy')

})();
- You have now made all the changes you need to in the
webapp-configuration.jsfile. Save the file, and upload it to theS3BucketWWWin the scripts folder, to overwrite the existing stubbed-out file. You can perform the upload using ath S3 console, or the commandline. - Refresh the TravelBuddy web page and check the developer console to confirm there are no errors following the changes you have made.