Deploy the api using code star and CI/CD
Create a CI/CD pipeline with AWS CodeStar
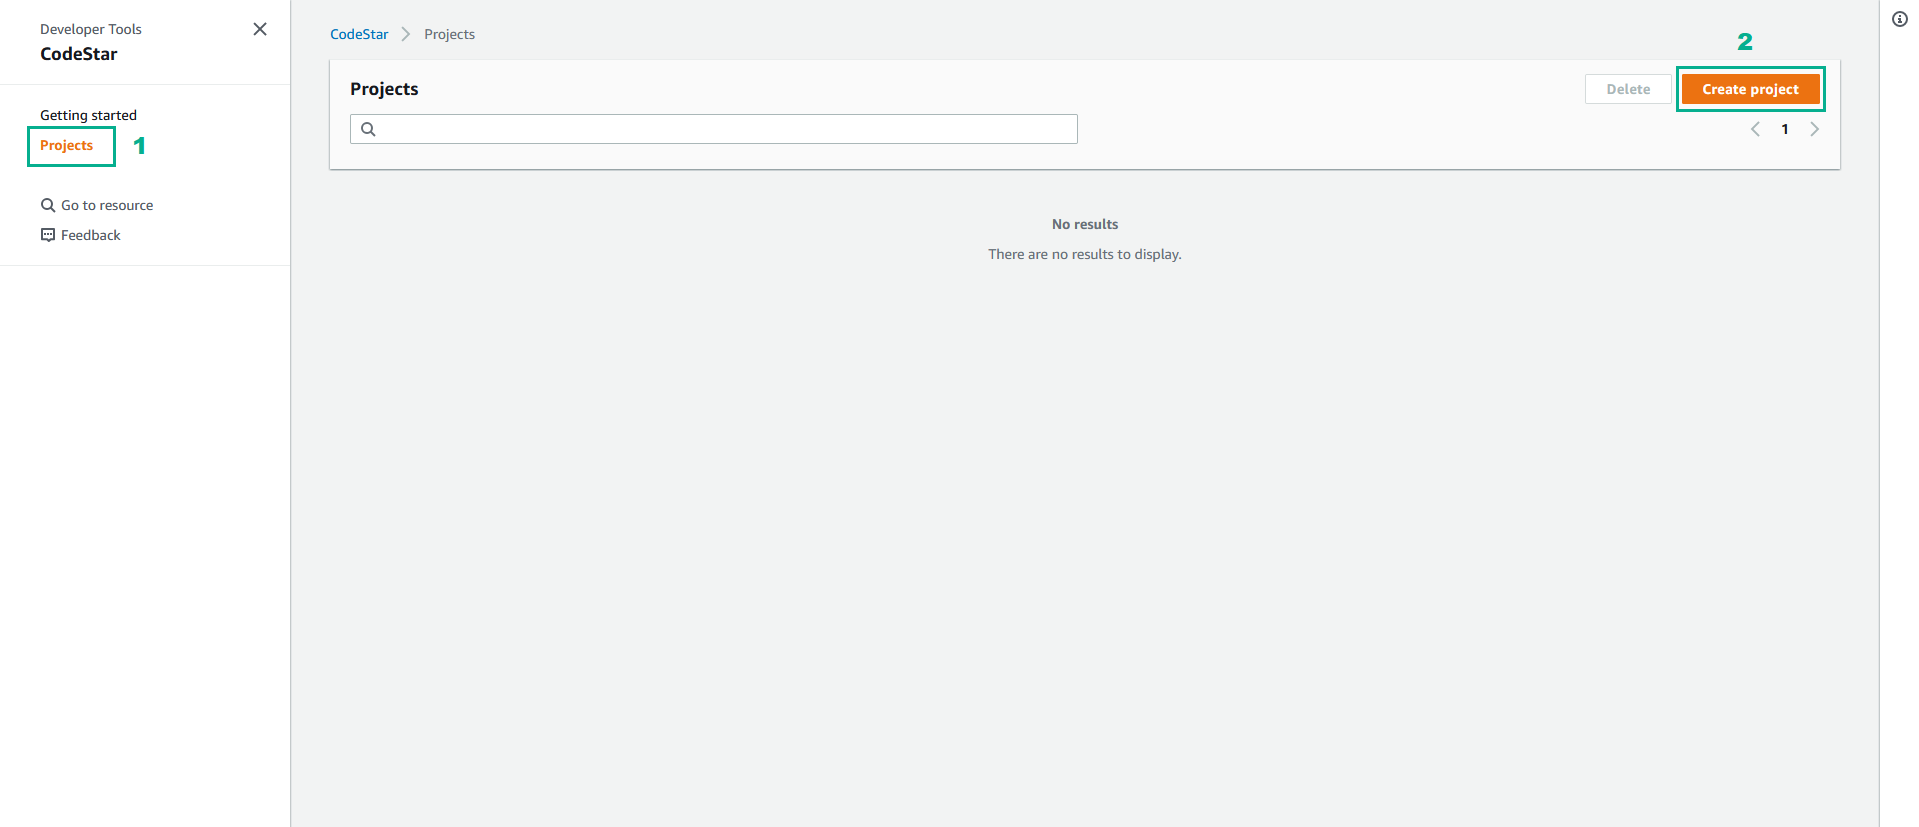
- Go to AWS CodeStar Console.
- Click Projects
- Click Create project
Click Create service role if you never go to AWS CodeStar Service before.
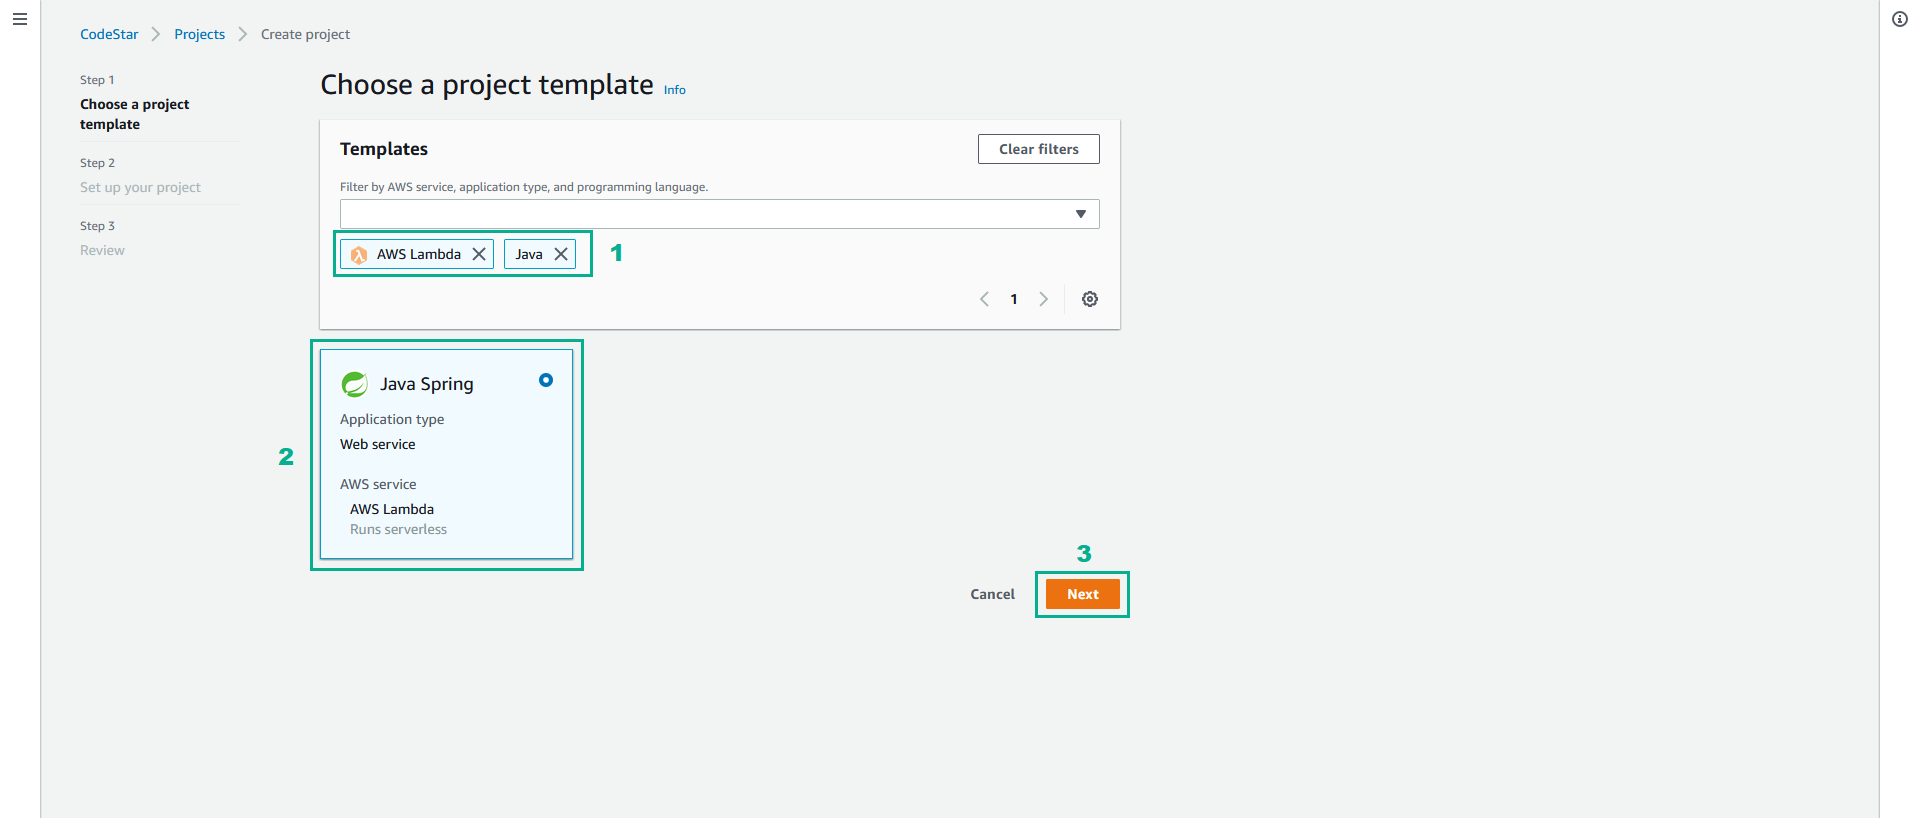
- In the Templates page, select Java and AWS Lambda
- Select Java Spring
- Click Next
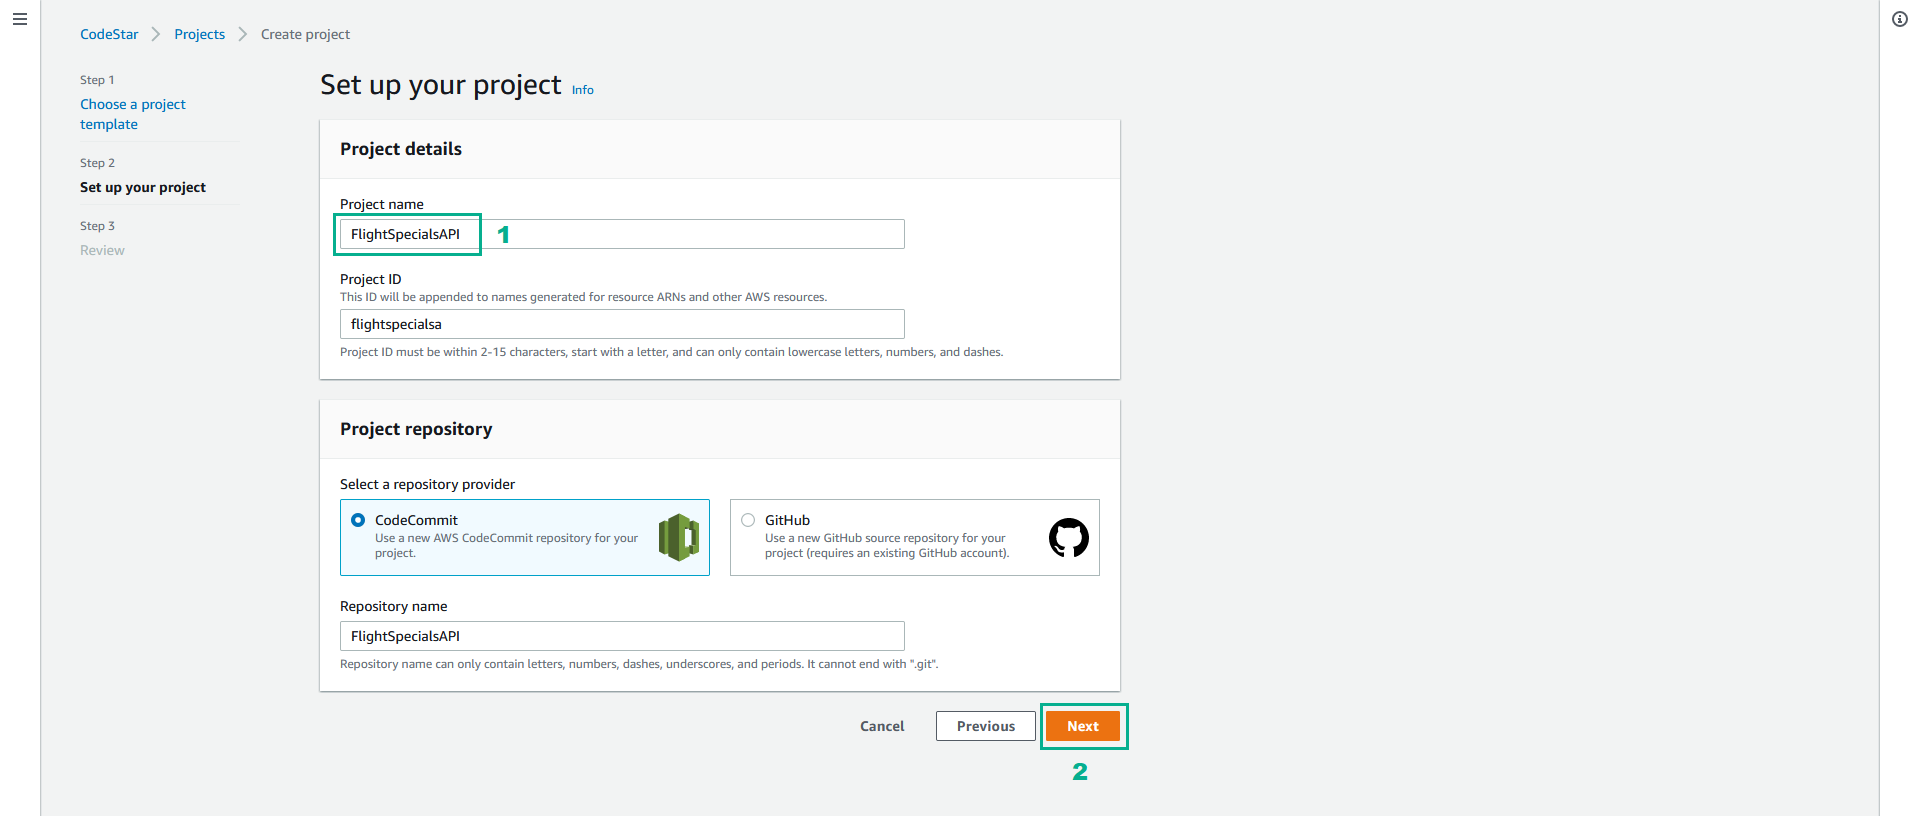
- In the Project name section, type
FlightSpecialsAPI
- Click Next
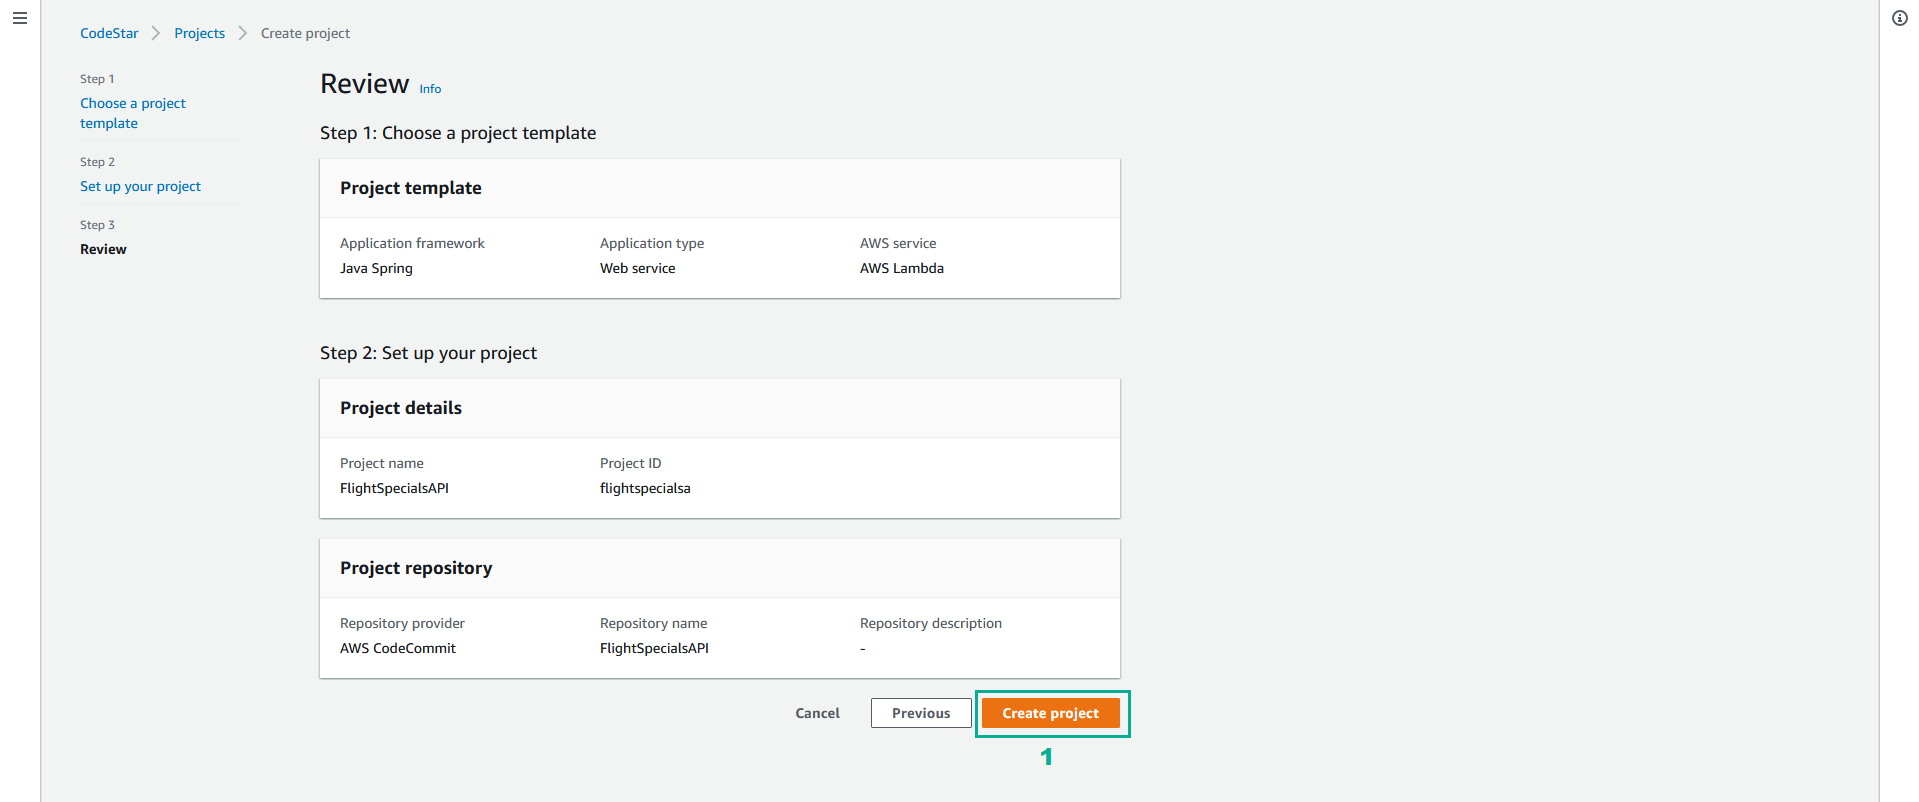
- In the Review page, click Create project
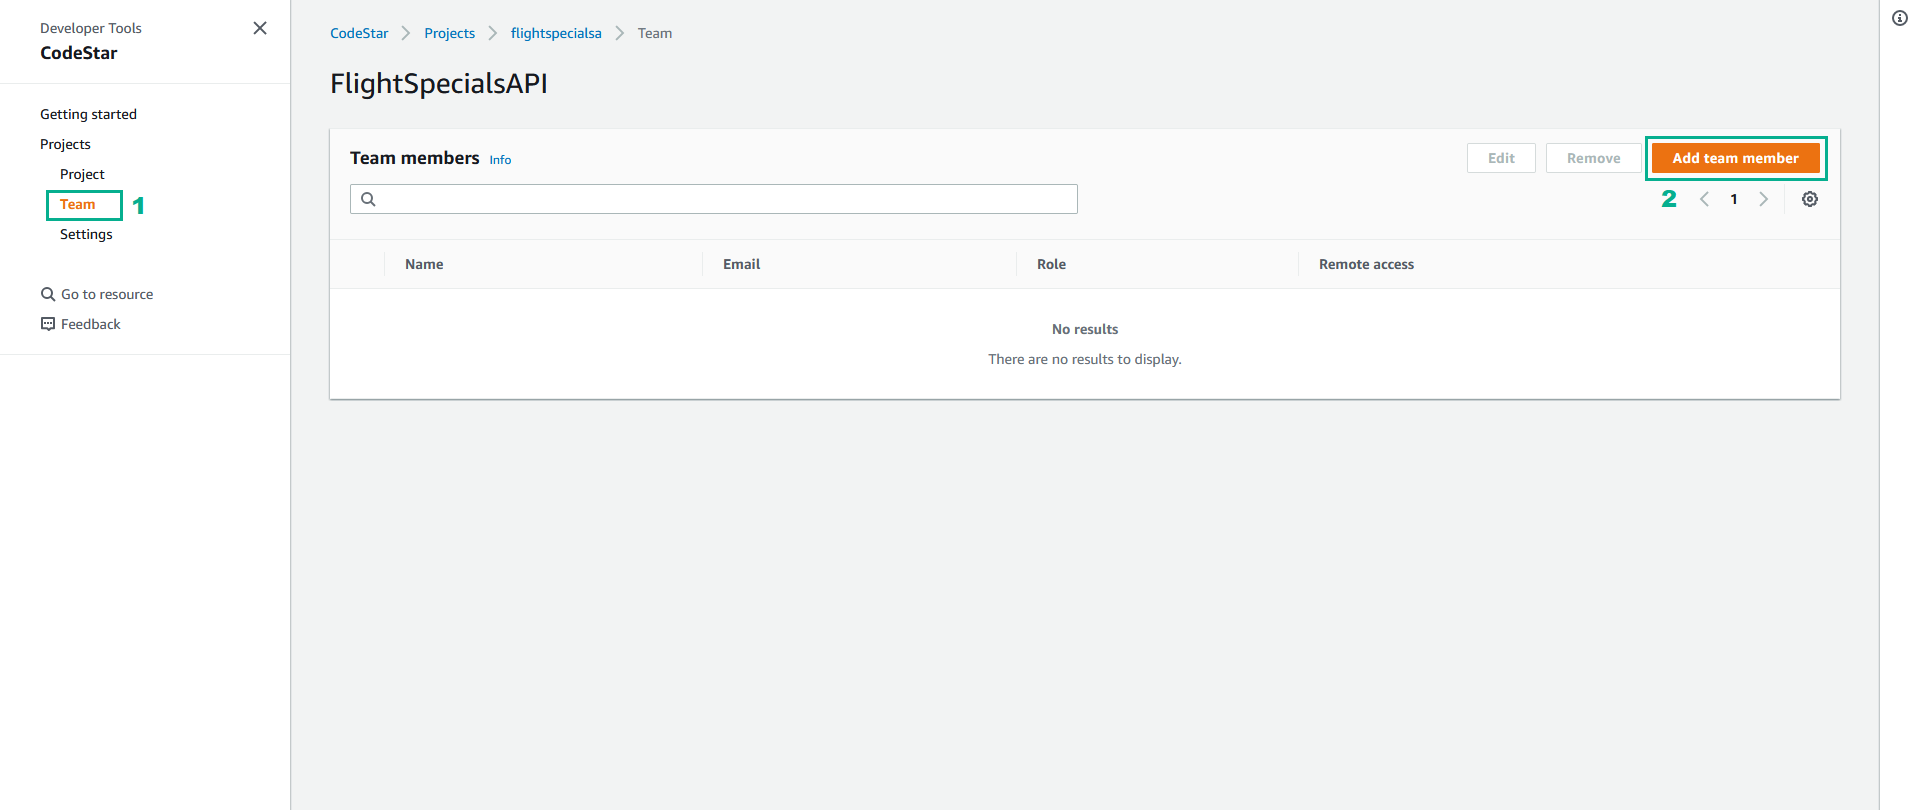
- Add awsstudent account to the the team with Owner role.
- Click Team
- Click Add team member
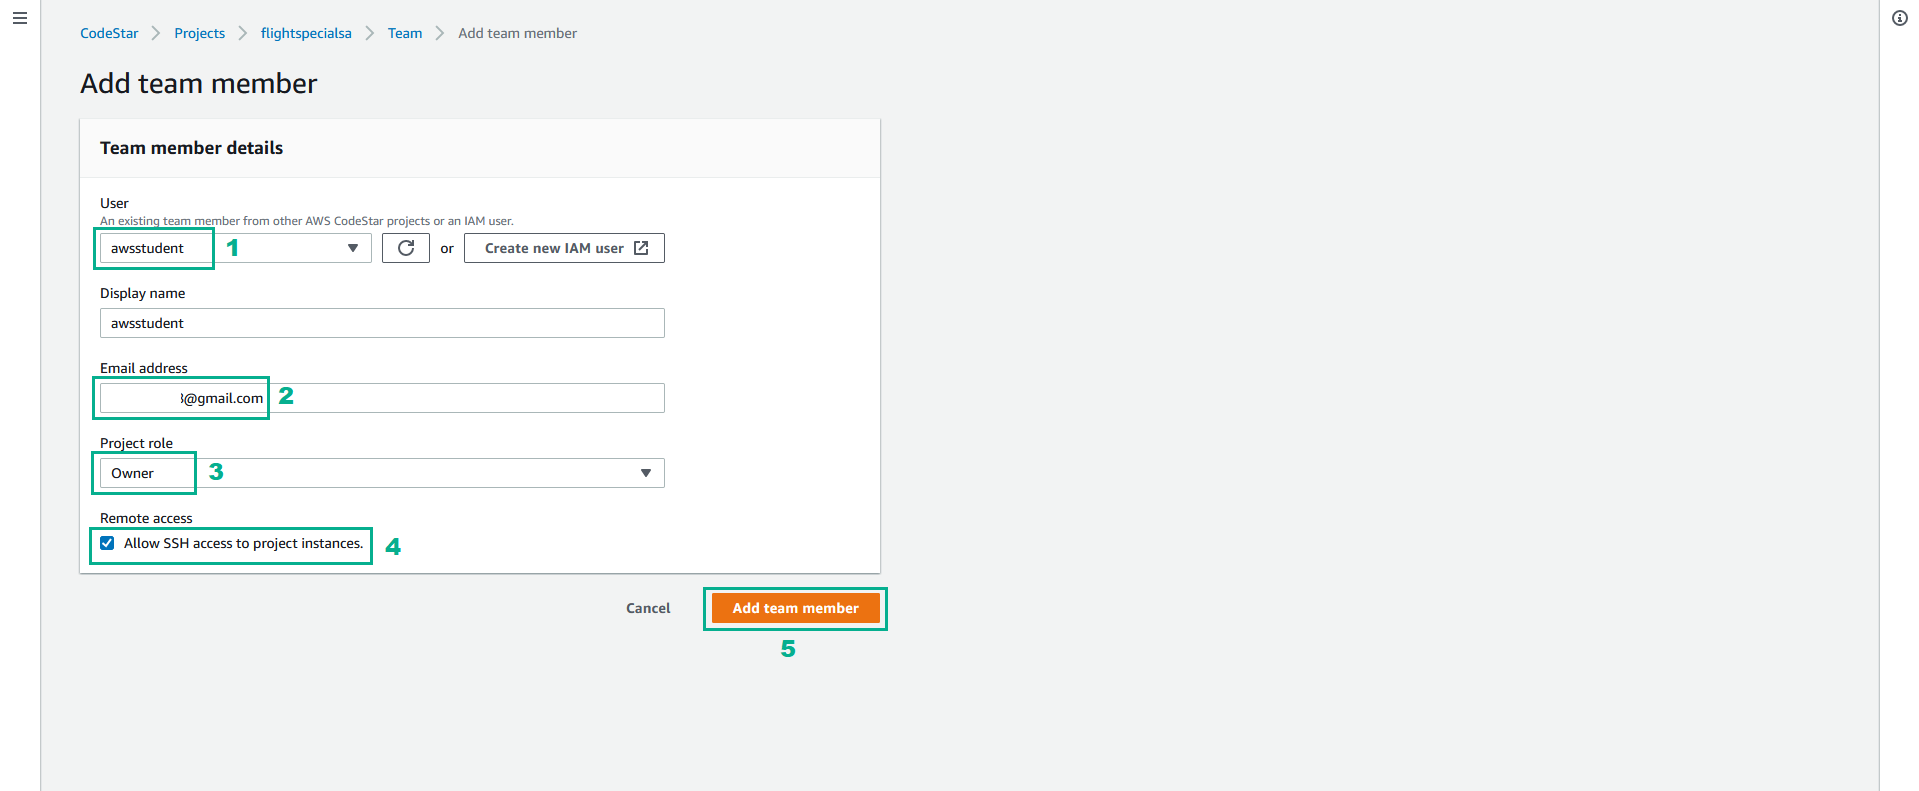
- In the Team member details section
- In the User section, select awsstudent
- In the Email address section, type your email
- In the Project role section, select Owner
- CLick Allow SSH access to project instances.
- Click Add team member
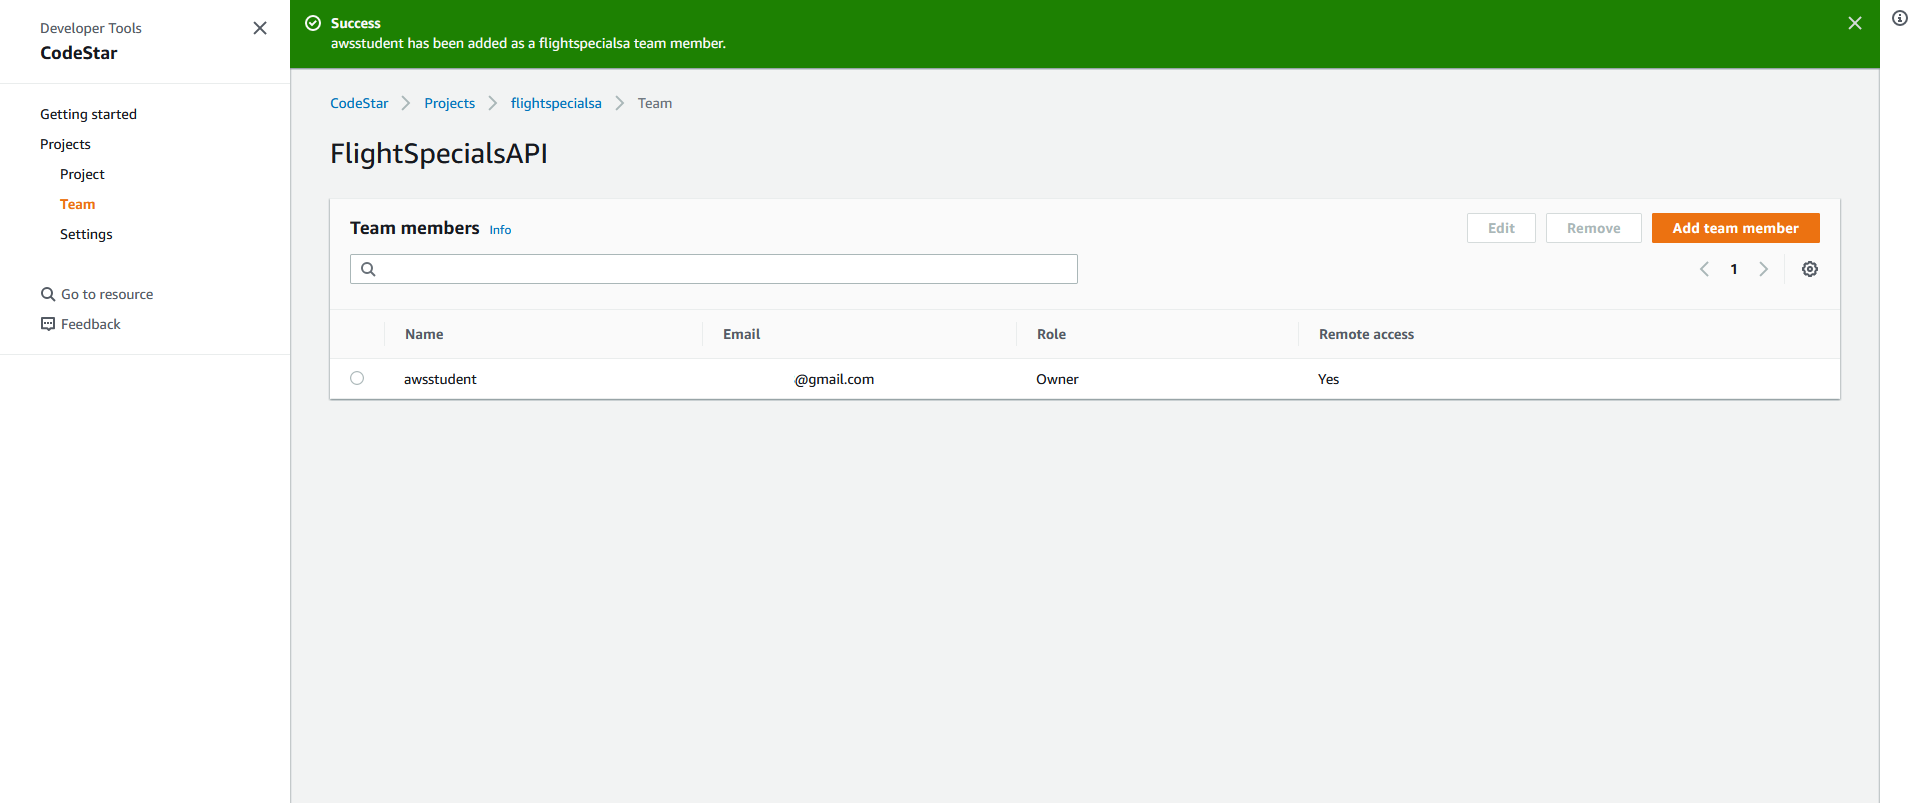
- Check added team member
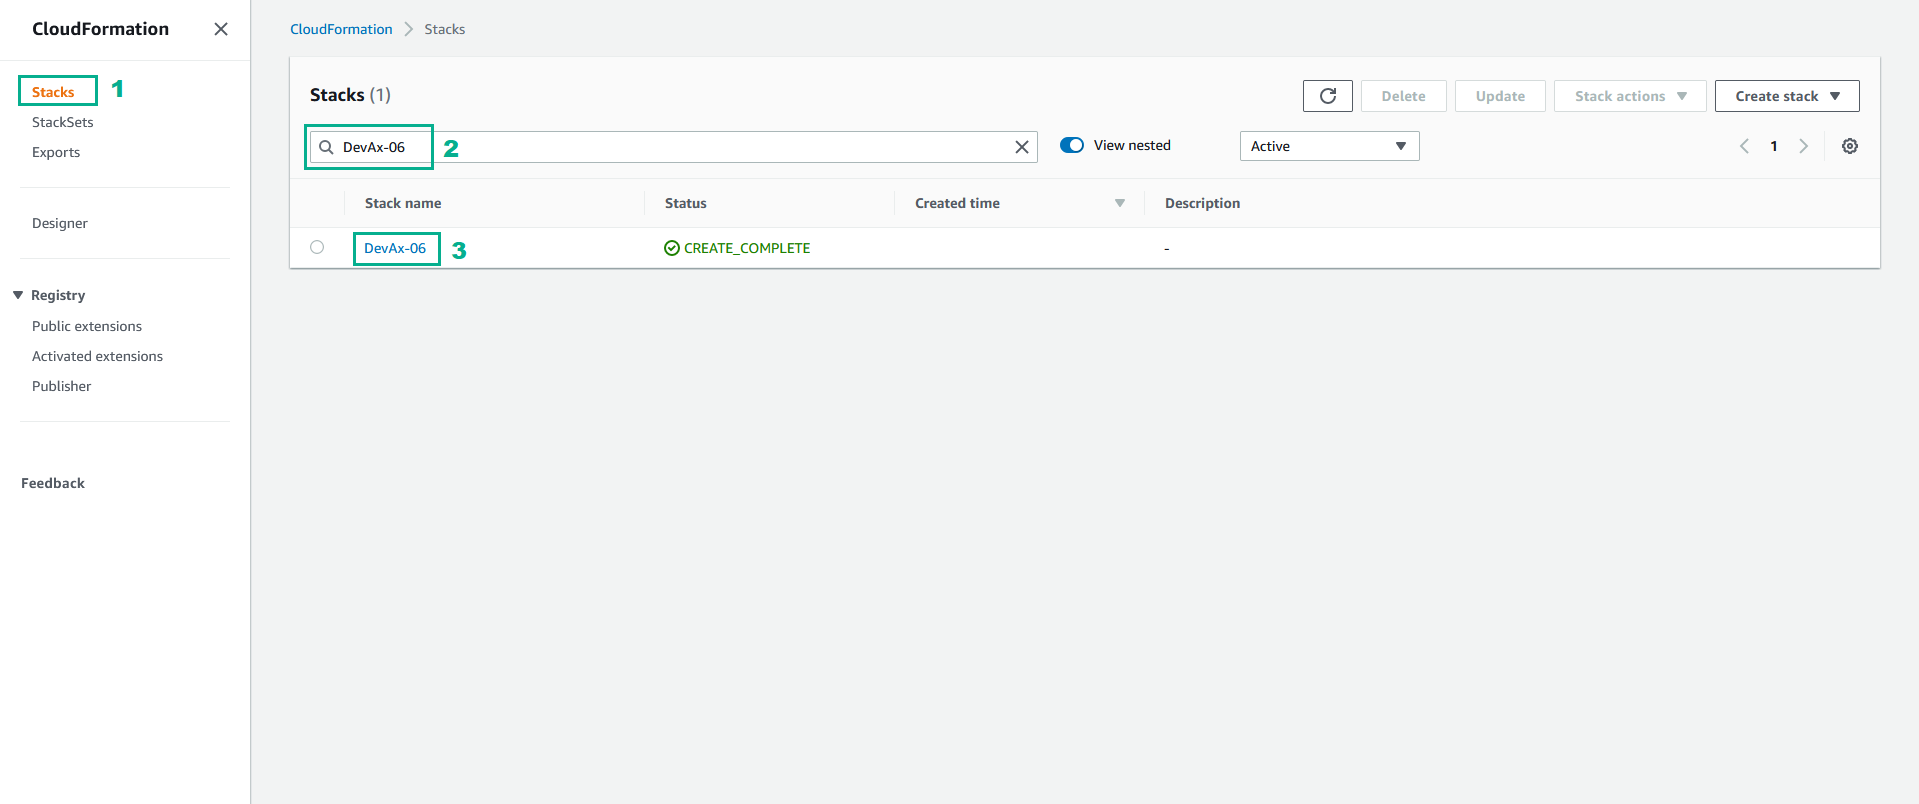
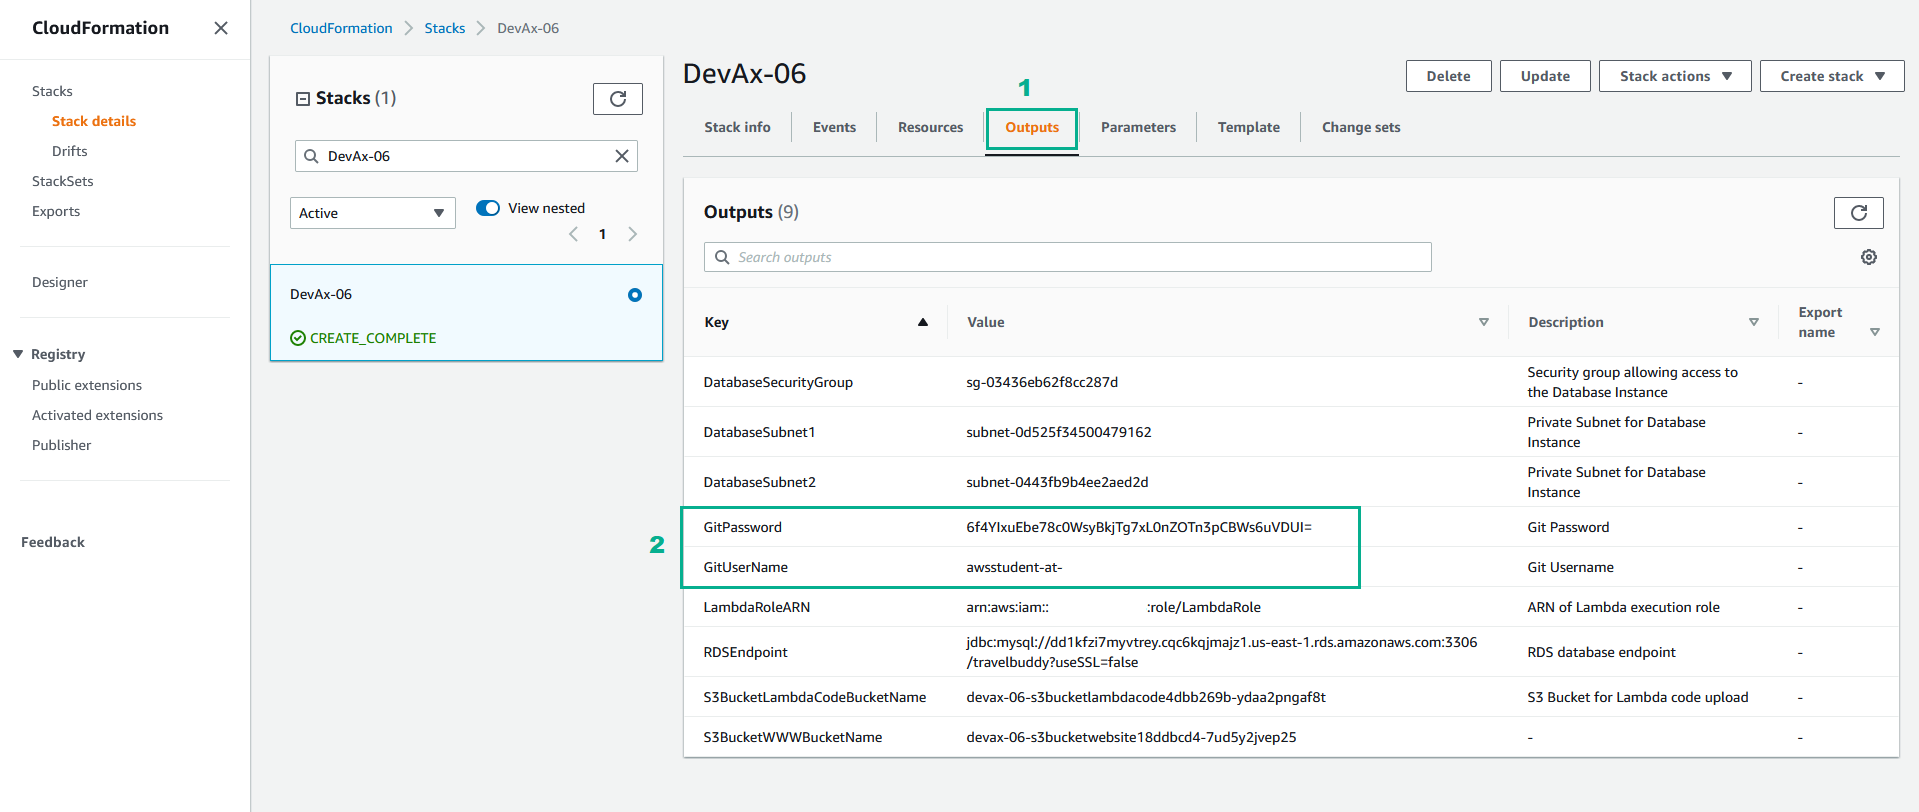
- Go to AWS CloudFormation Console.
- Click Stack.
- Type
DevAx-06to the search bar and click Enter. - Click DevAx-06.
- Click tab Output
- Save GitPassword value and GitUserName value to use in the next step.
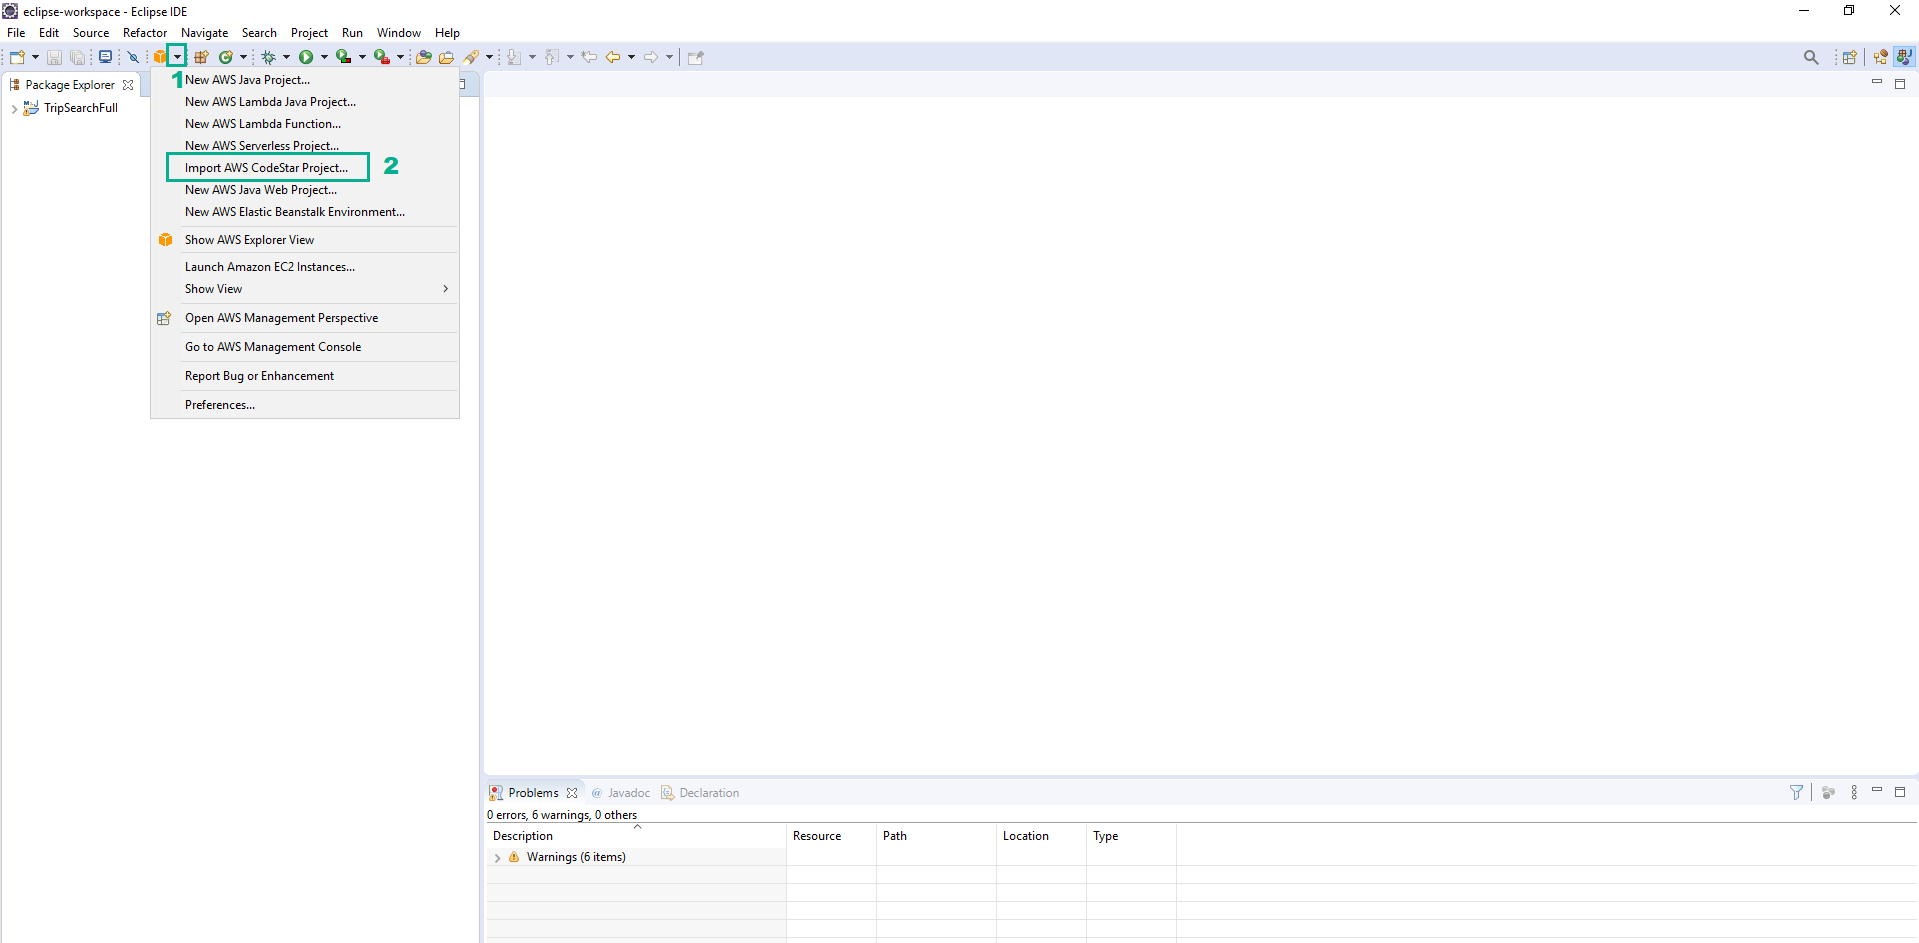
- Open Eclipse IDE.
- Find the AWS Icon and click it to reveal the menu
- Click Import AWS CodeStar Project…
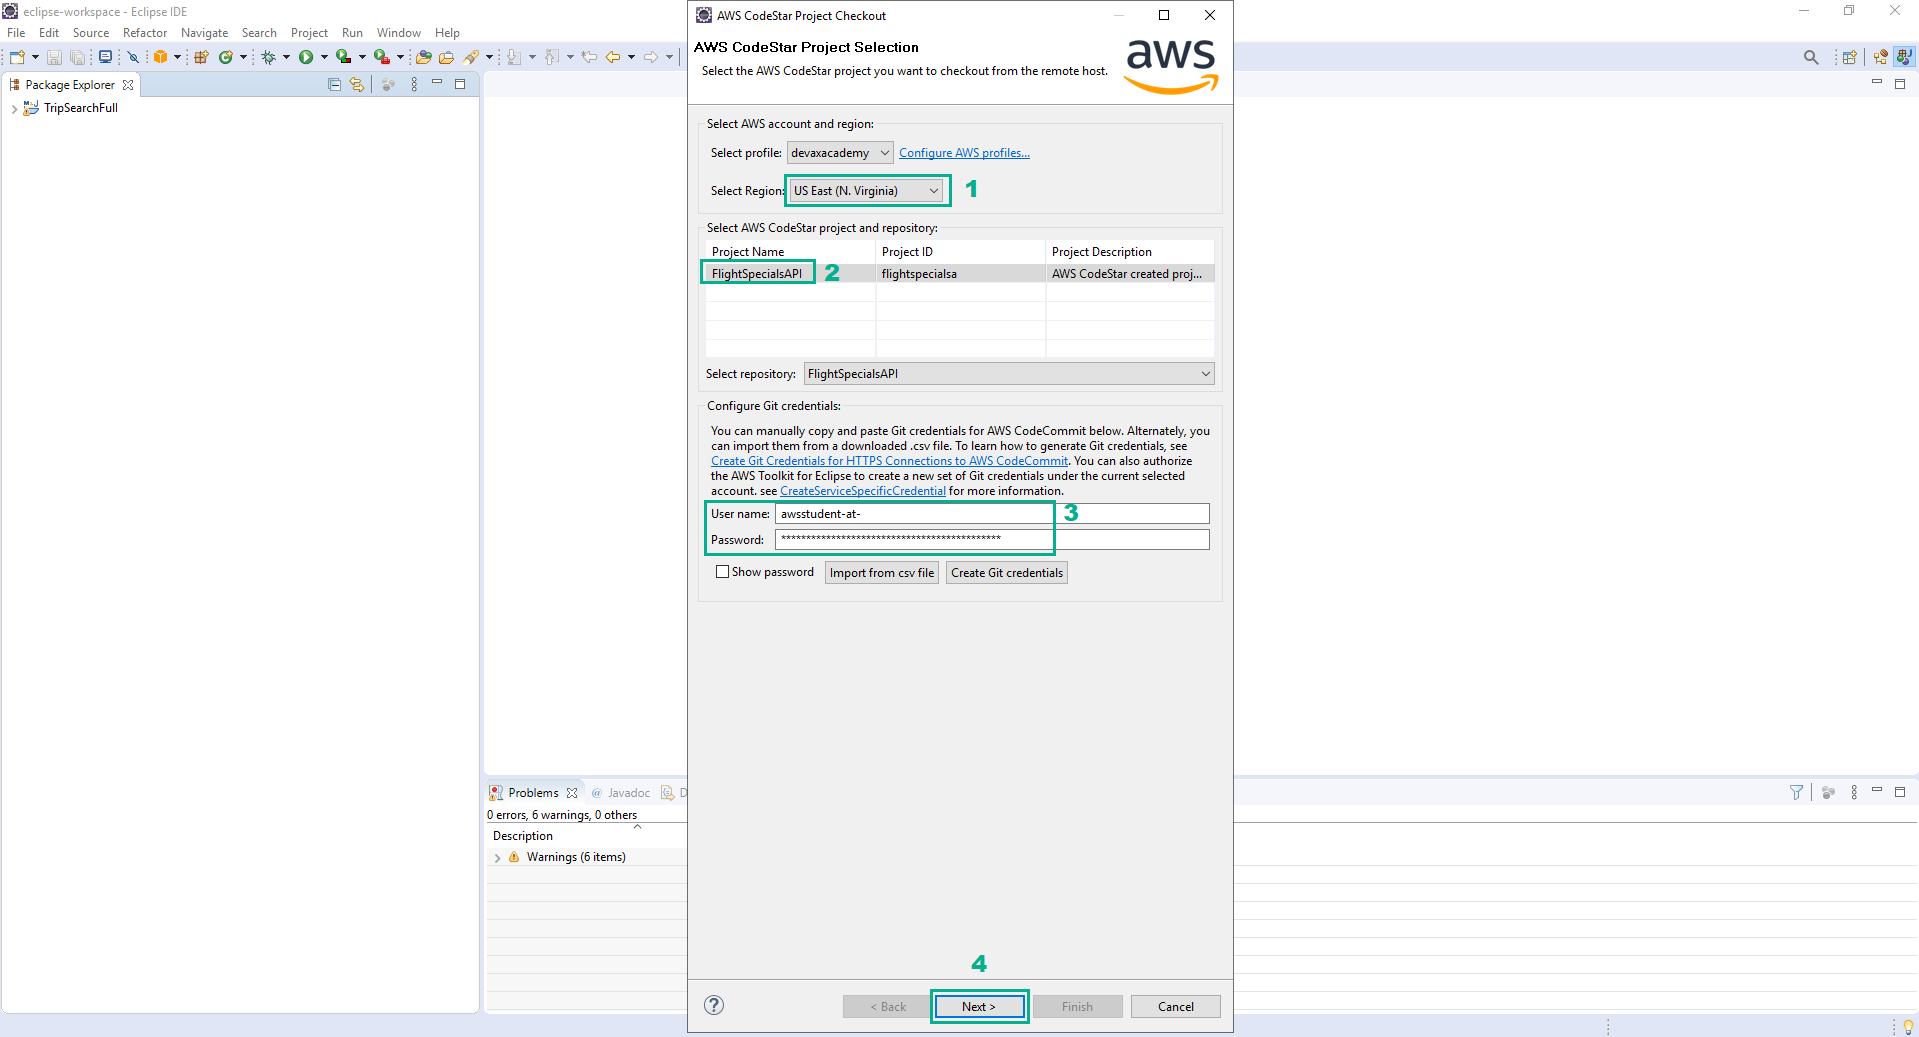
- Select your region
- Select
FlightSpecialsAPI - Type the saved information in step 9 to User name section and Password section
- Click Next
- Click OK, ignore the error org.eclipse.egit.ui.internal.repository.tree.RepositoryTreeNodeType.getIcon()Lorg/eclipse/swt/graphics/Image;
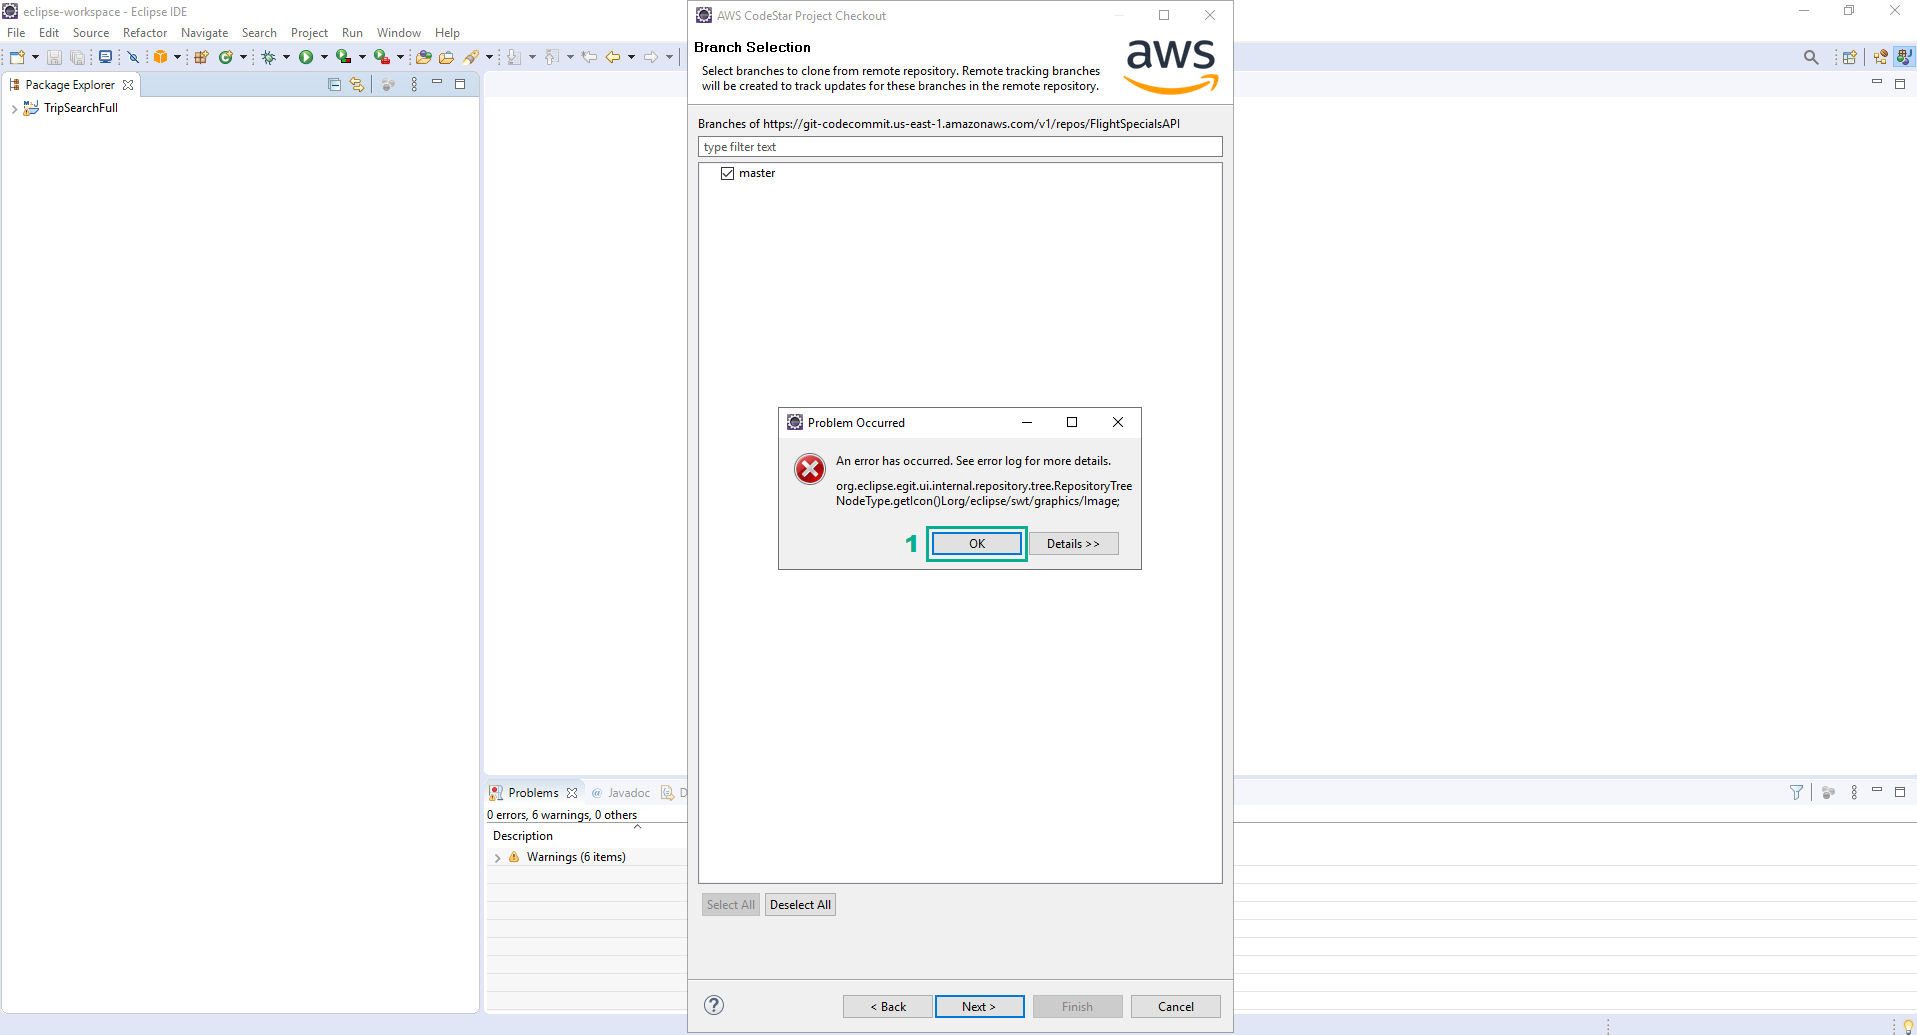
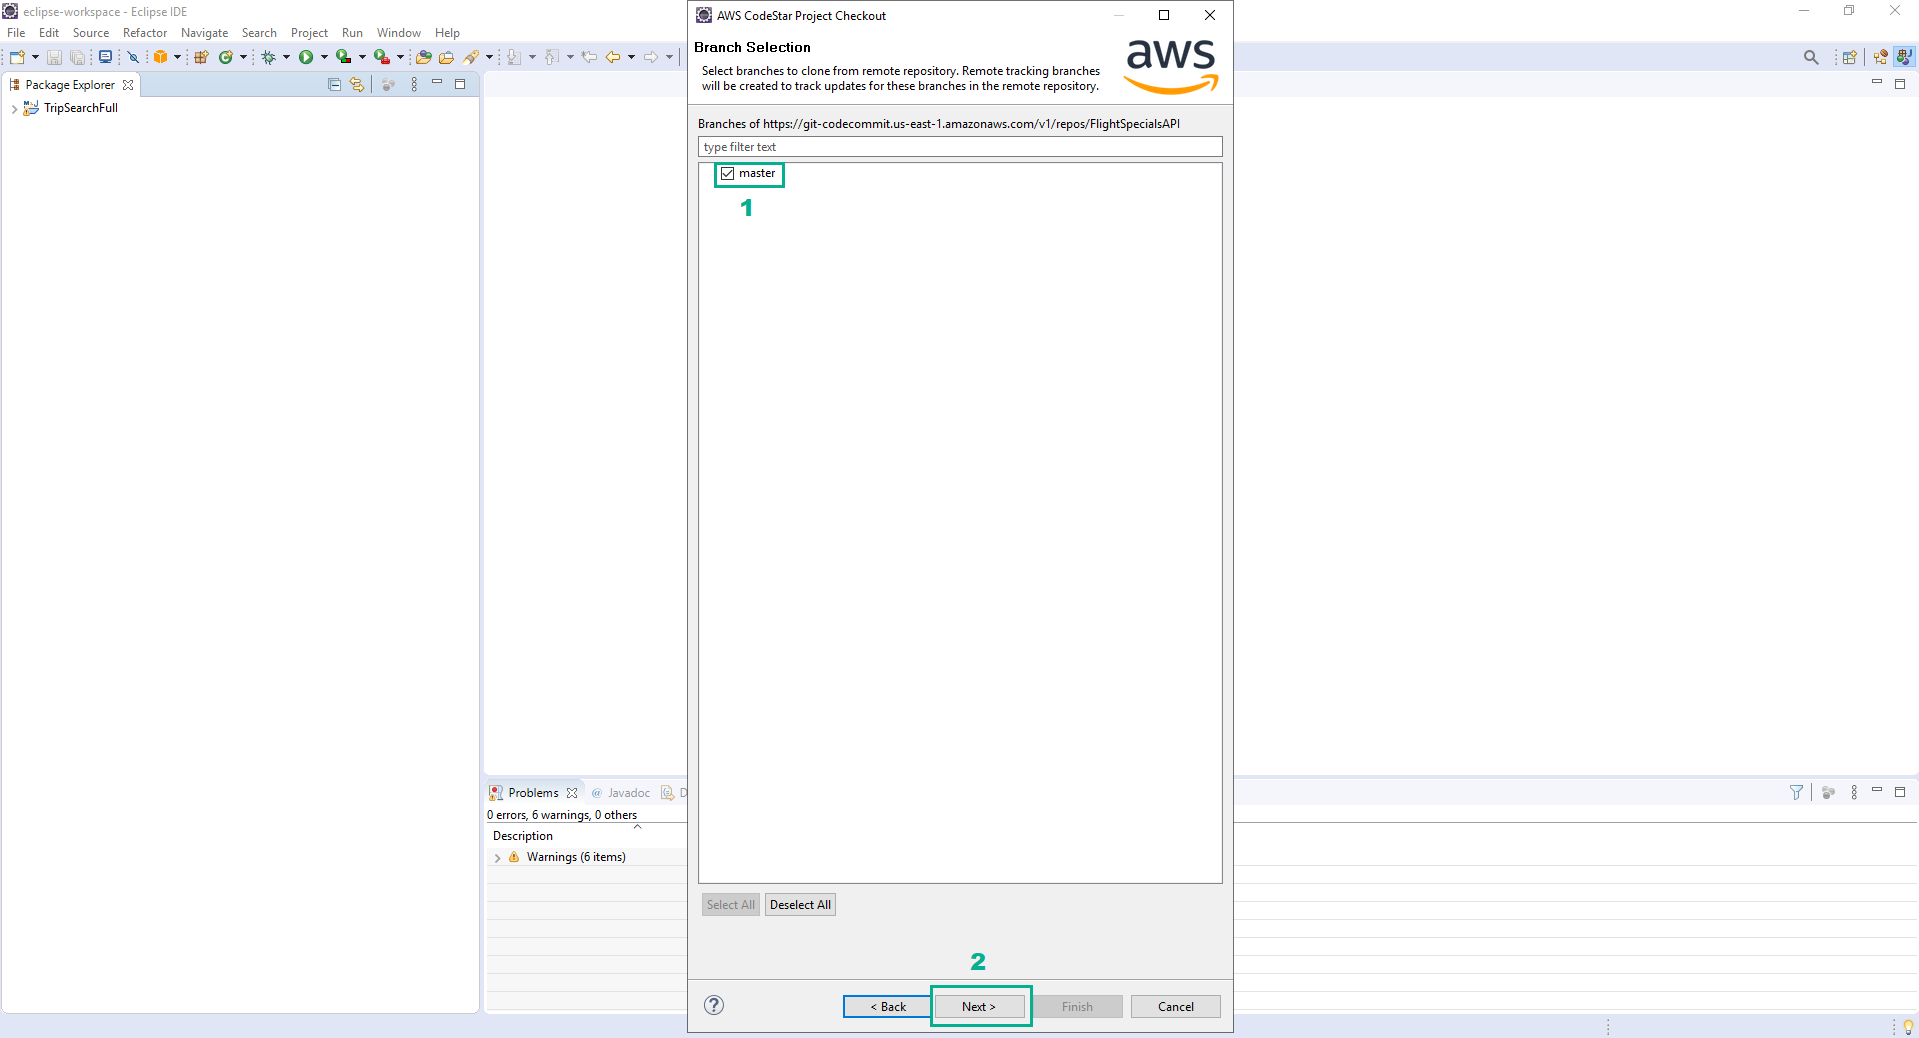
- Select master branch and click Next.
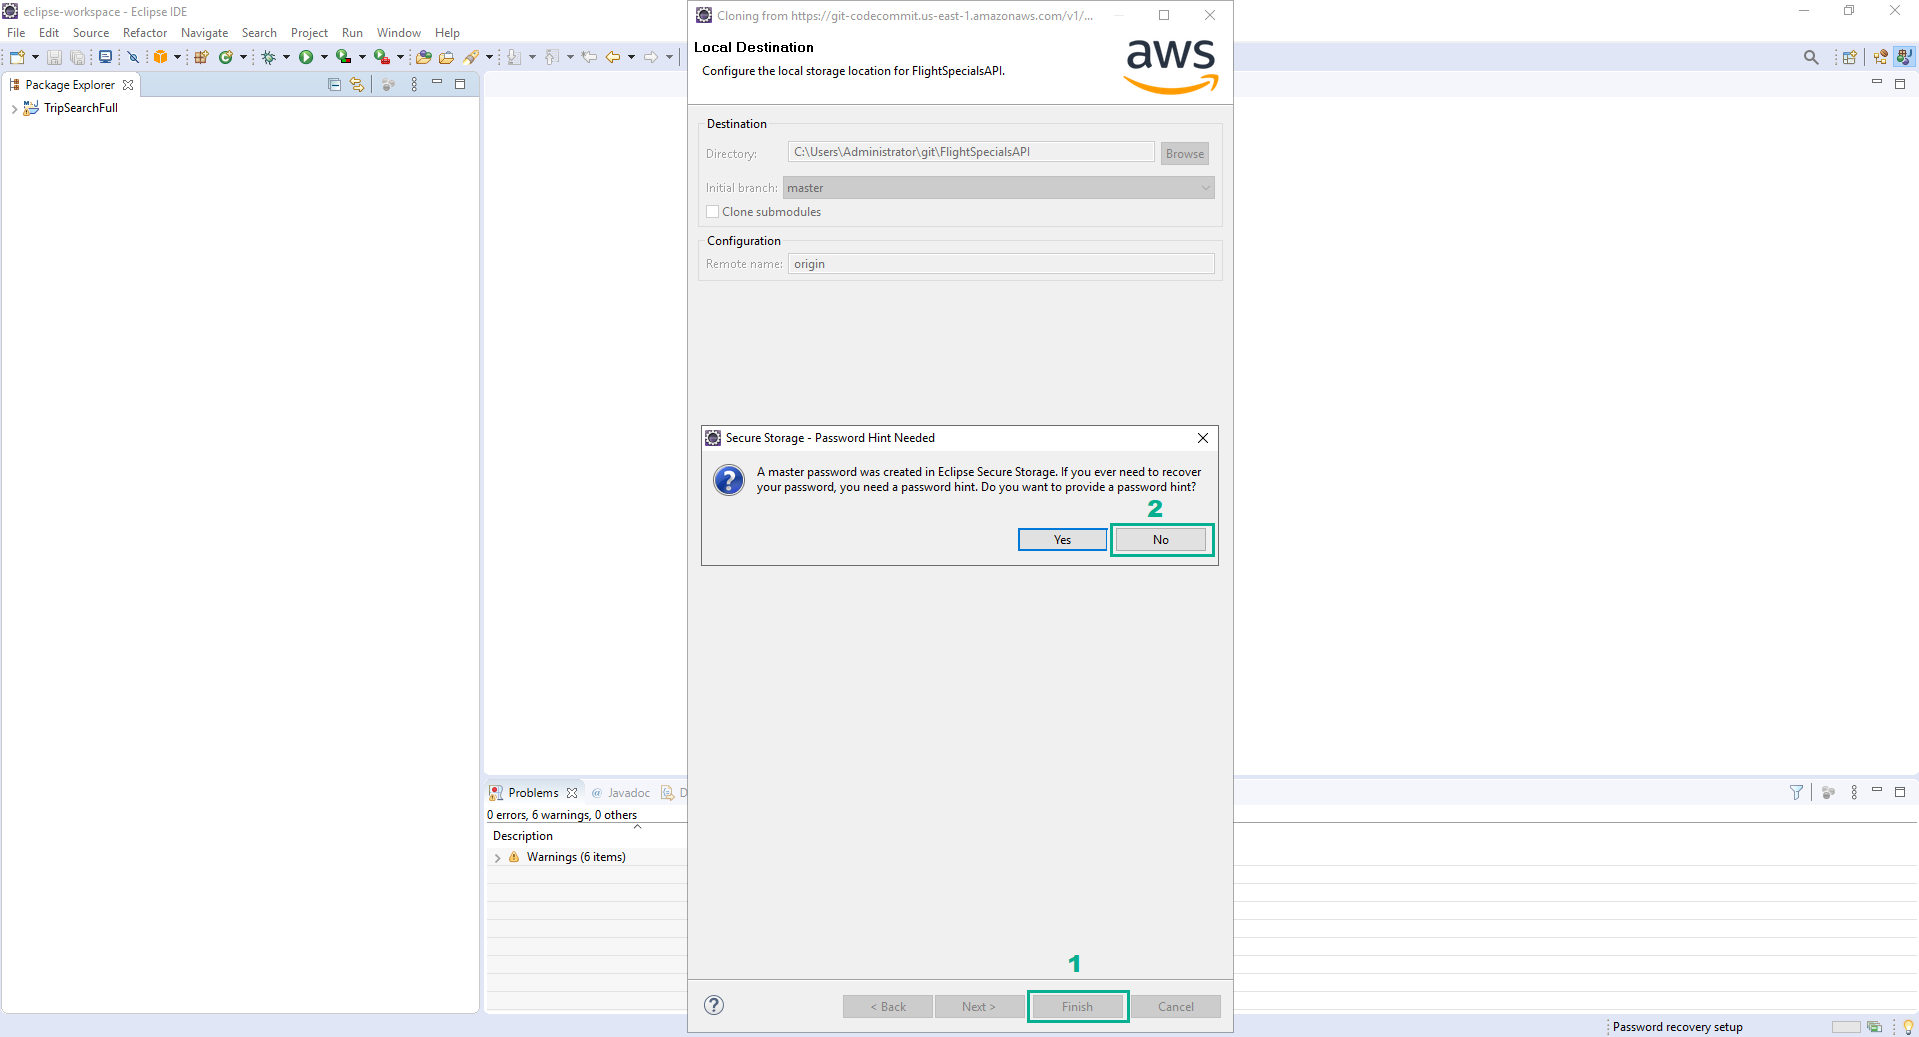
- Click Finish.
- Click No to skip setup password hint.
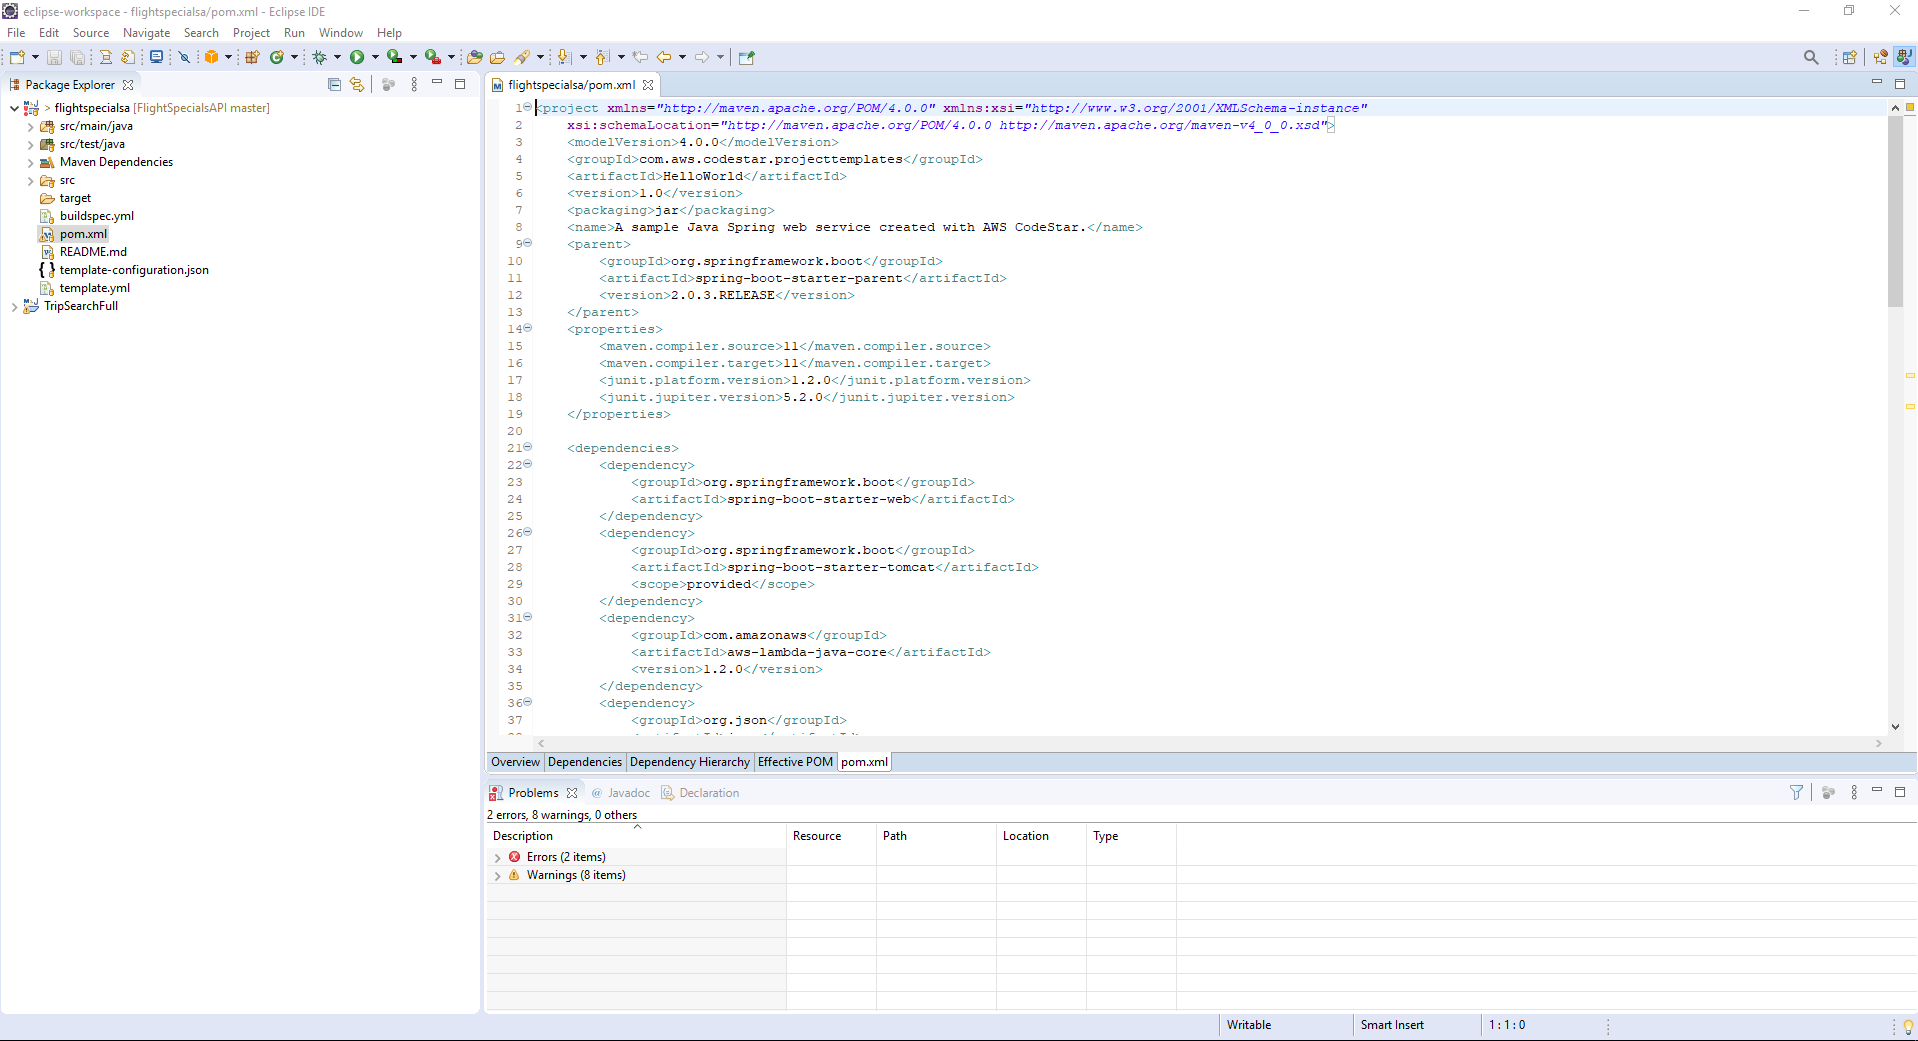
- Project sample was created by CodeStar was imported
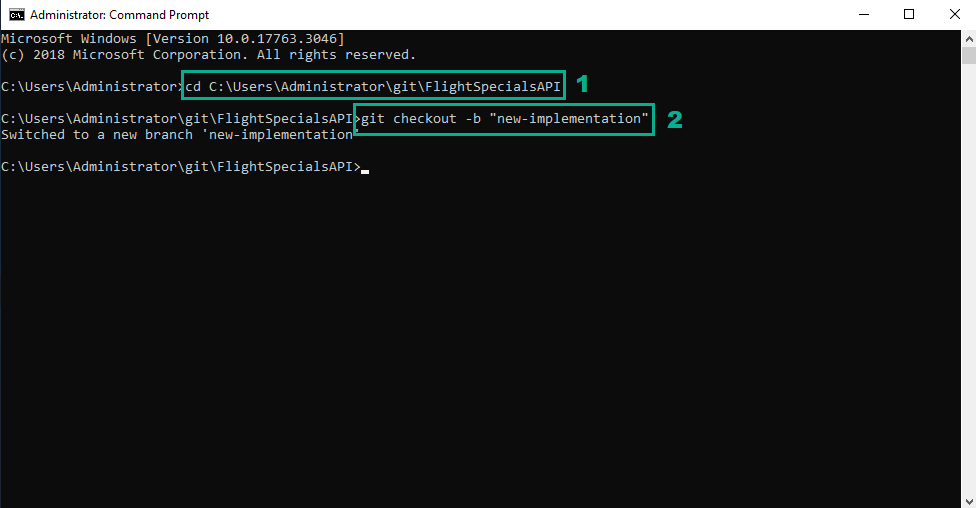
- Open Command Prompt, execute the below command to go to the directory where the IDE code is located and to create and switch to the new branch
cd C:\Users\Administrator\git\FlightSpecialsAPI
git checkout -b "new-implementation"
- Download the FlightSpecials.zip file and extract.
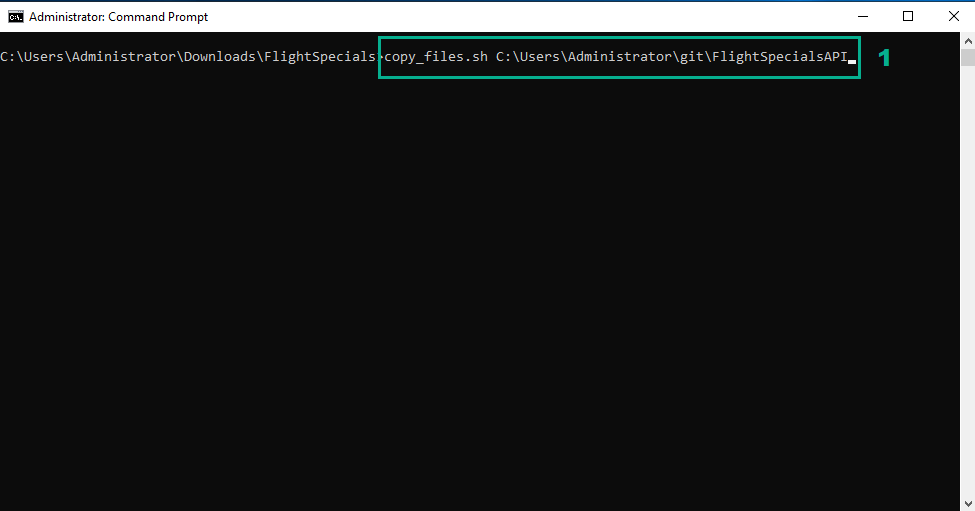
- In the Command Prompt, navigate to the directory of the FlightSpecials folder we extracted in step 17
- Execute the following command to overwrite the implementation provided by CodeStar with the contents of the FlightSpecials.zip file we extracted in step 17. We have provided a copy_files.sh script in the FlightSpecials.zip bundle that you can use
copy_files.sh C:\Users\Administrator\git\FlightSpecialsAPI
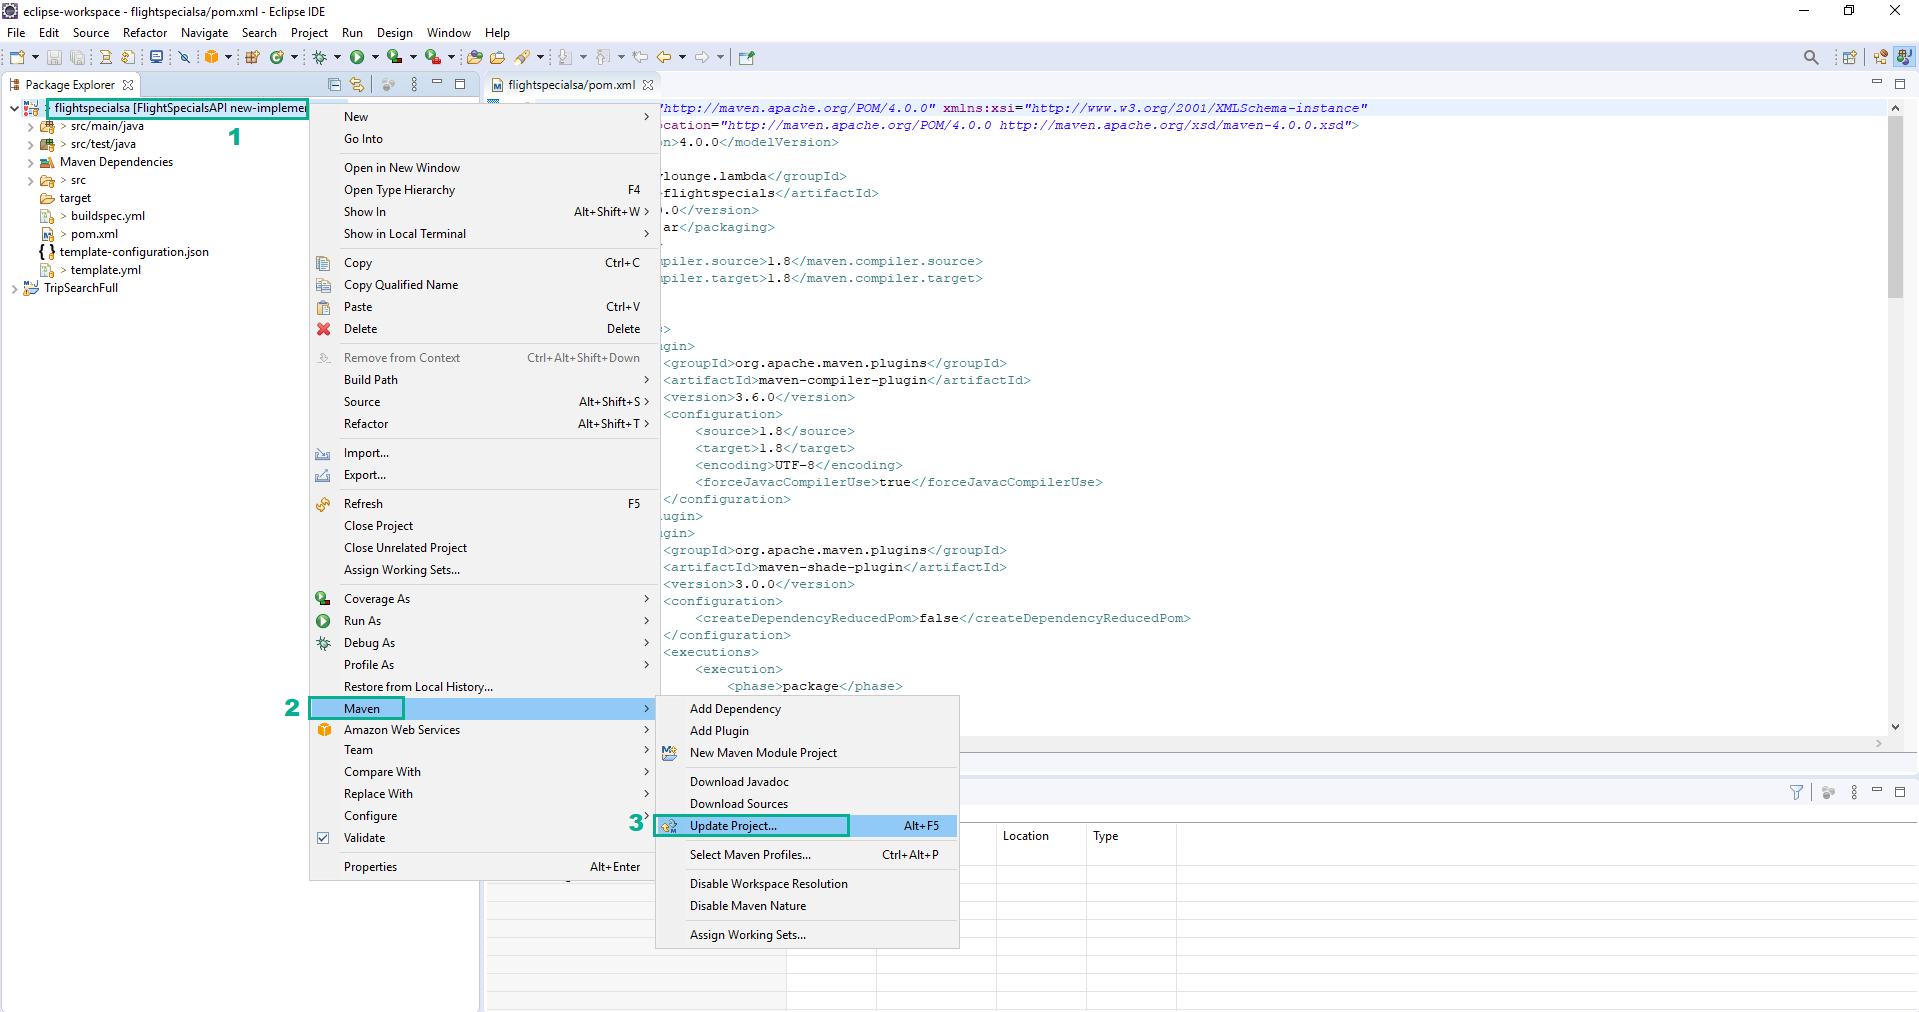
 19. In the Eclipse IDE, right-click on the FlightSpecialsAPI project we imported
- Click Maven
- Click Update Project…
- In the Eclipse IDE, open the pom.xml file
- After the line 113, add the following content
		<dependency>
			<groupId>org.springframework.boot</groupId>
			<artifactId>spring-boot</artifactId>
			<version>2.0.3.RELEASE</version>
		</dependency>
		<dependency>
			<groupId>org.springframework.boot</groupId>
			<artifactId>spring-boot-autoconfigure</artifactId>
			<version>2.0.3.RELEASE</version>
		</dependency>
		<dependency>
    		<groupId>org.json</groupId>
    		<artifactId>json</artifactId>
    		<version>20180130</version>
		</dependency>
		<dependency>
			<groupId>com.amazonaws.serverless</groupId>
			<artifactId>aws-serverless-java-container-core</artifactId>
			<version>1.1.3</version>
		</dependency>
		<dependency>
			<groupId>org.junit.jupiter</groupId>
			<artifactId>junit-jupiter-api</artifactId>
			<version>5.2.0</version>
		</dependency>
- Save
Give CloudFormation permission to create an IAM role
- Go to AWS IAM Console.
- Click Roles.
- Type
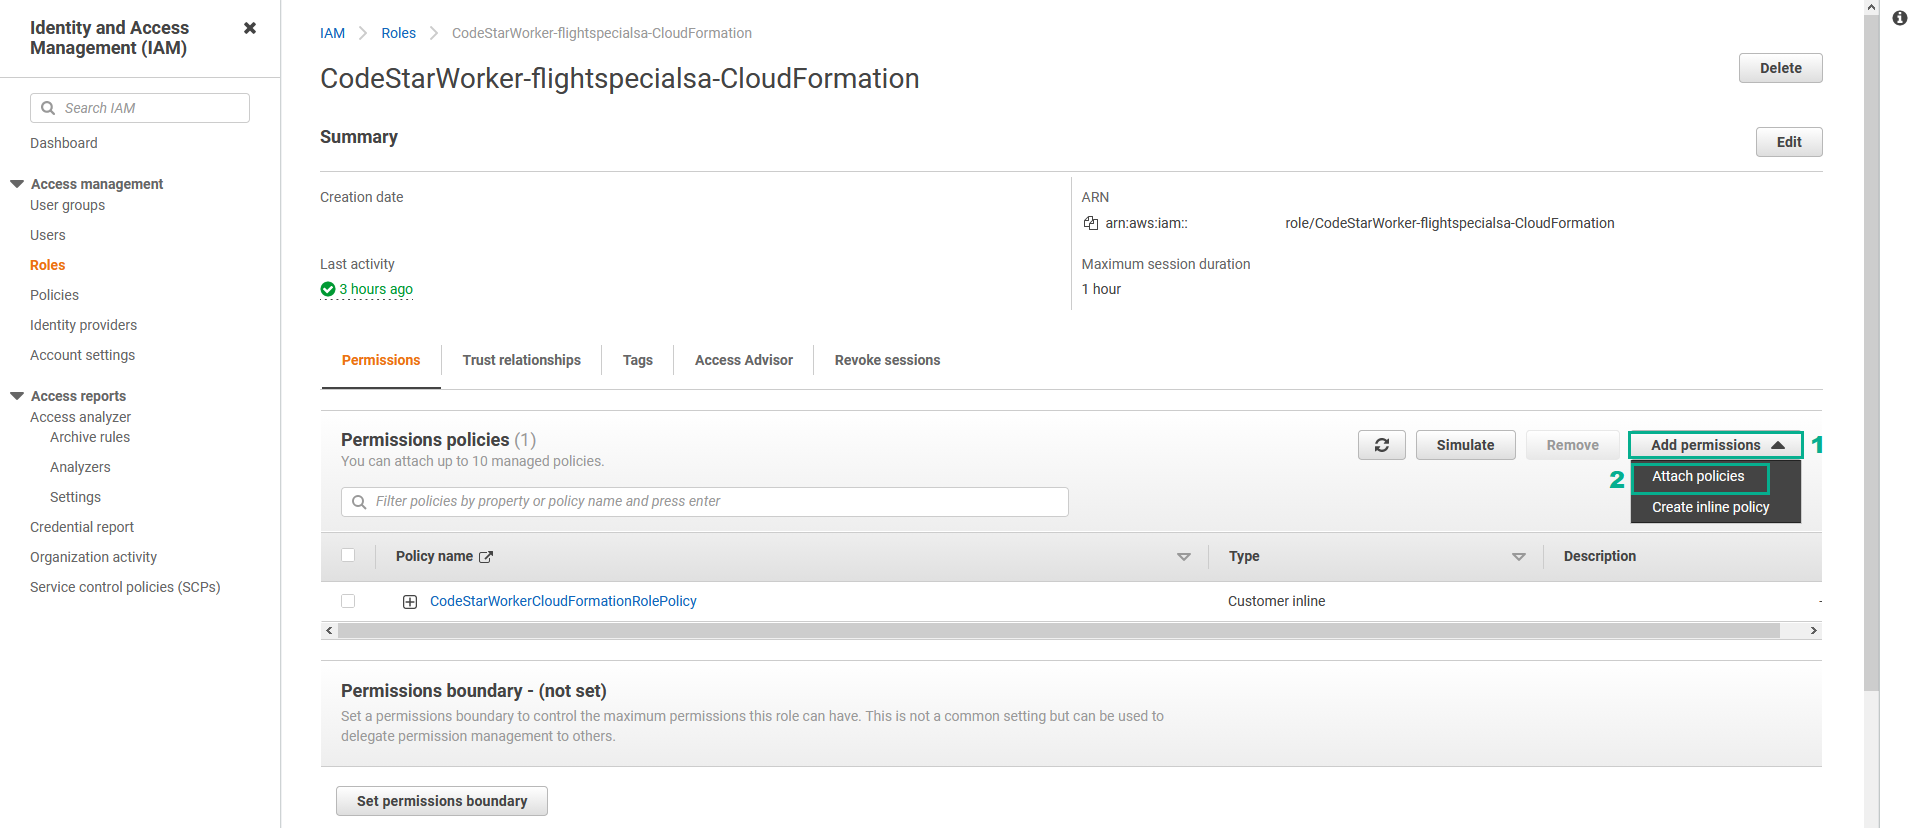
CodeStarWorker-flightspecialsa-CloudFormationto the search bar and press Enter - Click CodeStarWorker-flightspecialsa-CloudFormation.
If you can’t find the role, it may be too early - CodeStar may still be provisioning the pipeline and may not yet have created the role. Check the progress of the provisioning in the CodeStar dashboard.

- Click Add permissions
- Click Attach Policies
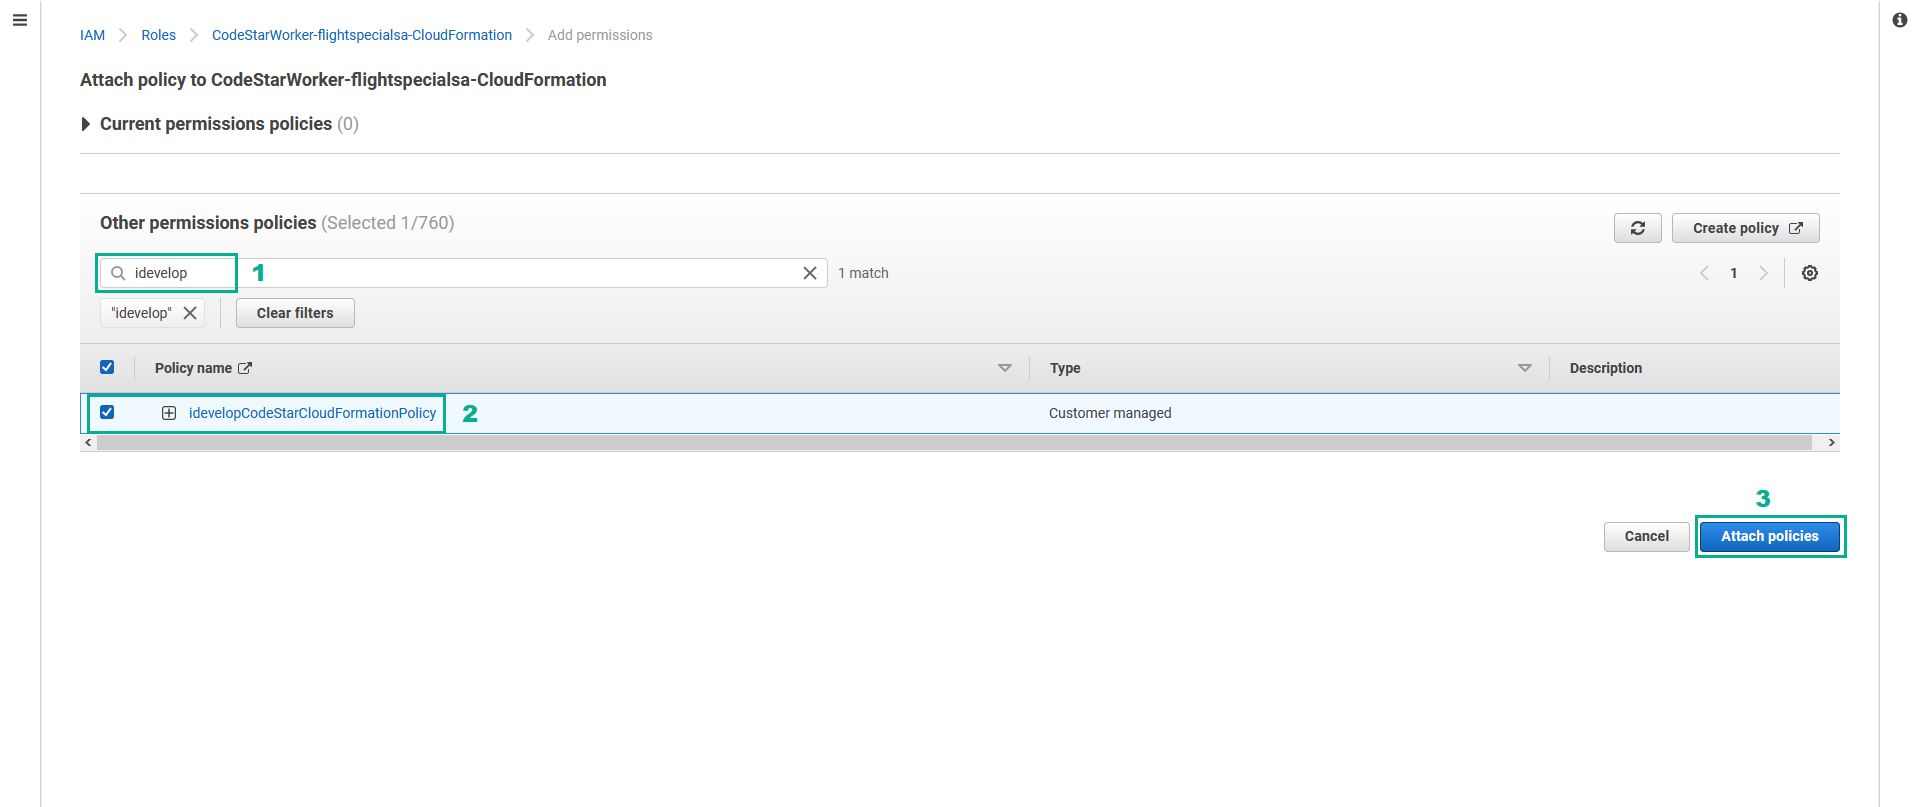
- Type
idevelopto the search bar and press Enter
- Select idevelopCodeStarCloudFormationPolicy
- Click Attach Policies
Update placeholder parameters in the CloudFormation template
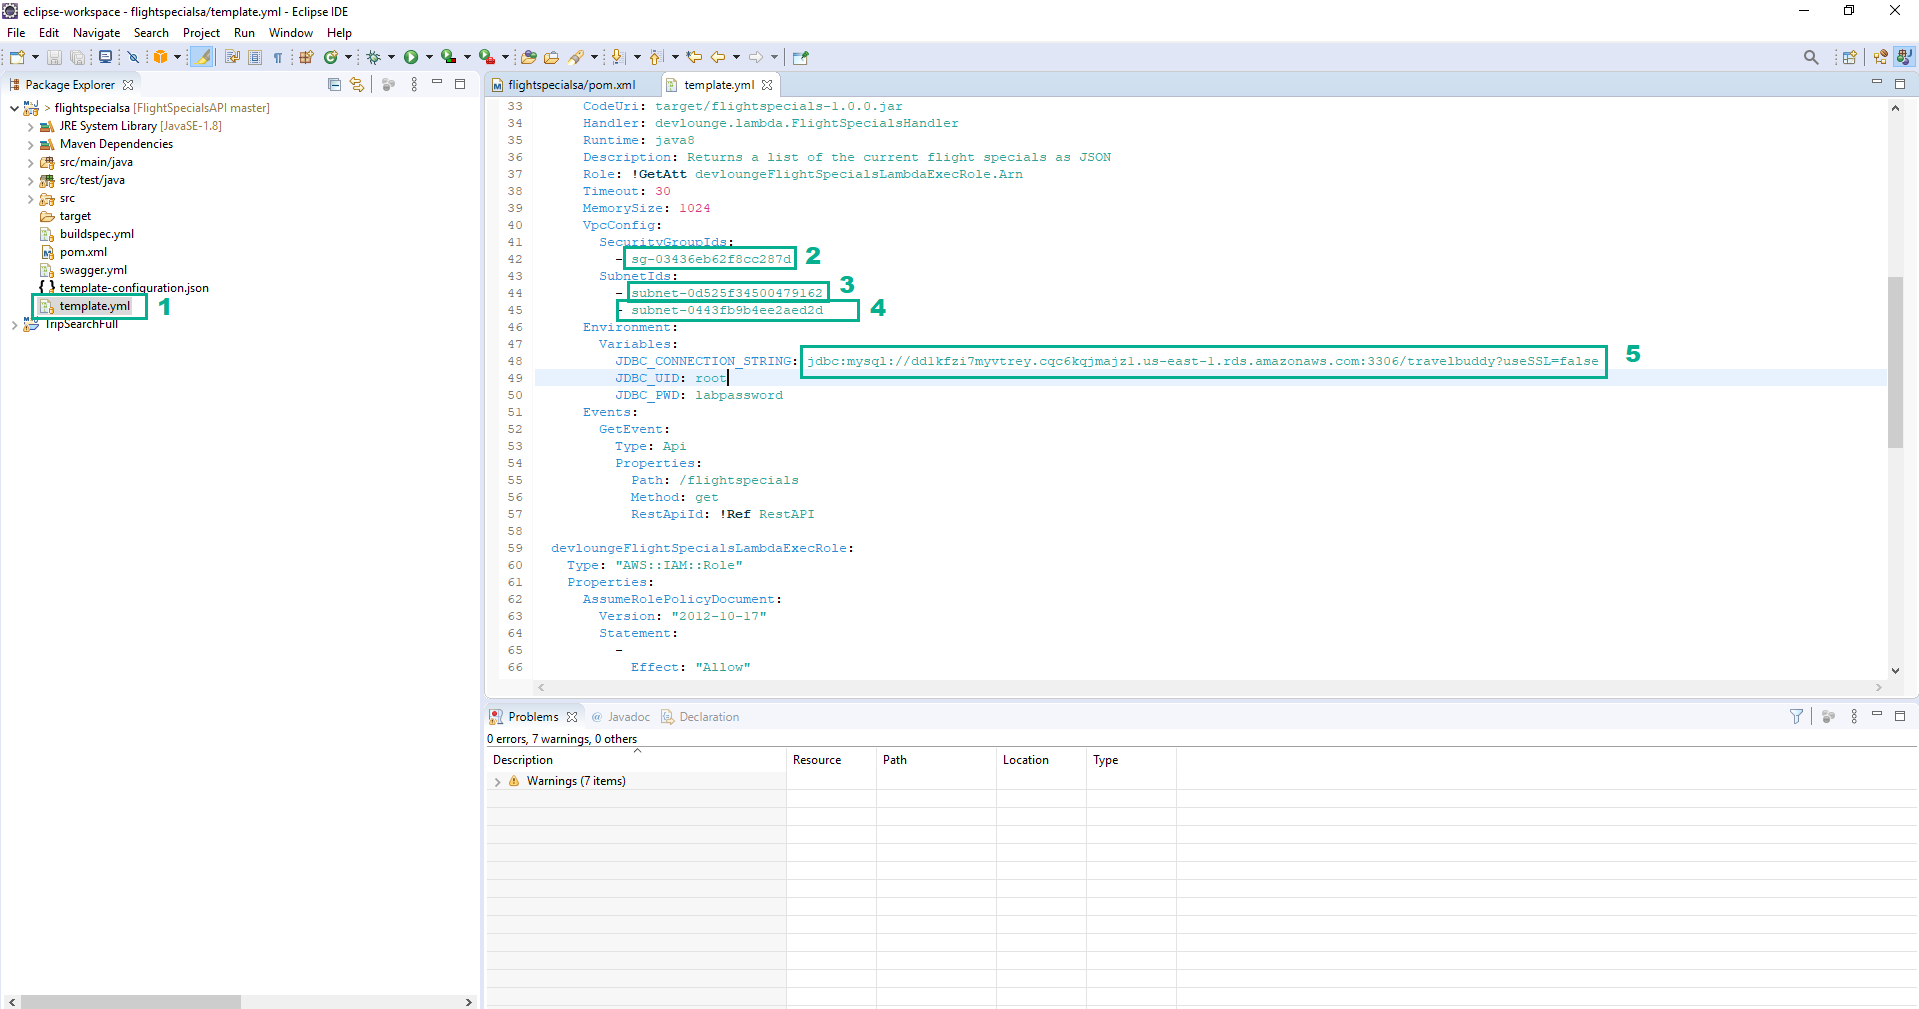
- Trong Eclipse IDE, open the template.yml file
- Do the same step 68 and step 69 in the 3.3 section to get the DatabaseSecurityGroup value, the DatabaseSubnet1 value, the DatabaseSubnet2 value and the RDSEndpoint value
- Replace <DatabaseSecurityGroup> with the DatabaseSecurityGroup value
- Replace <DatabaseSubnet1> with the DatabaseSubnet1 value
- Replace <DatabaseSubnet2> with the DatabaseSubnet2 value
- Replace <RDSEndpoint> with the RDSEndpoint value
- Save
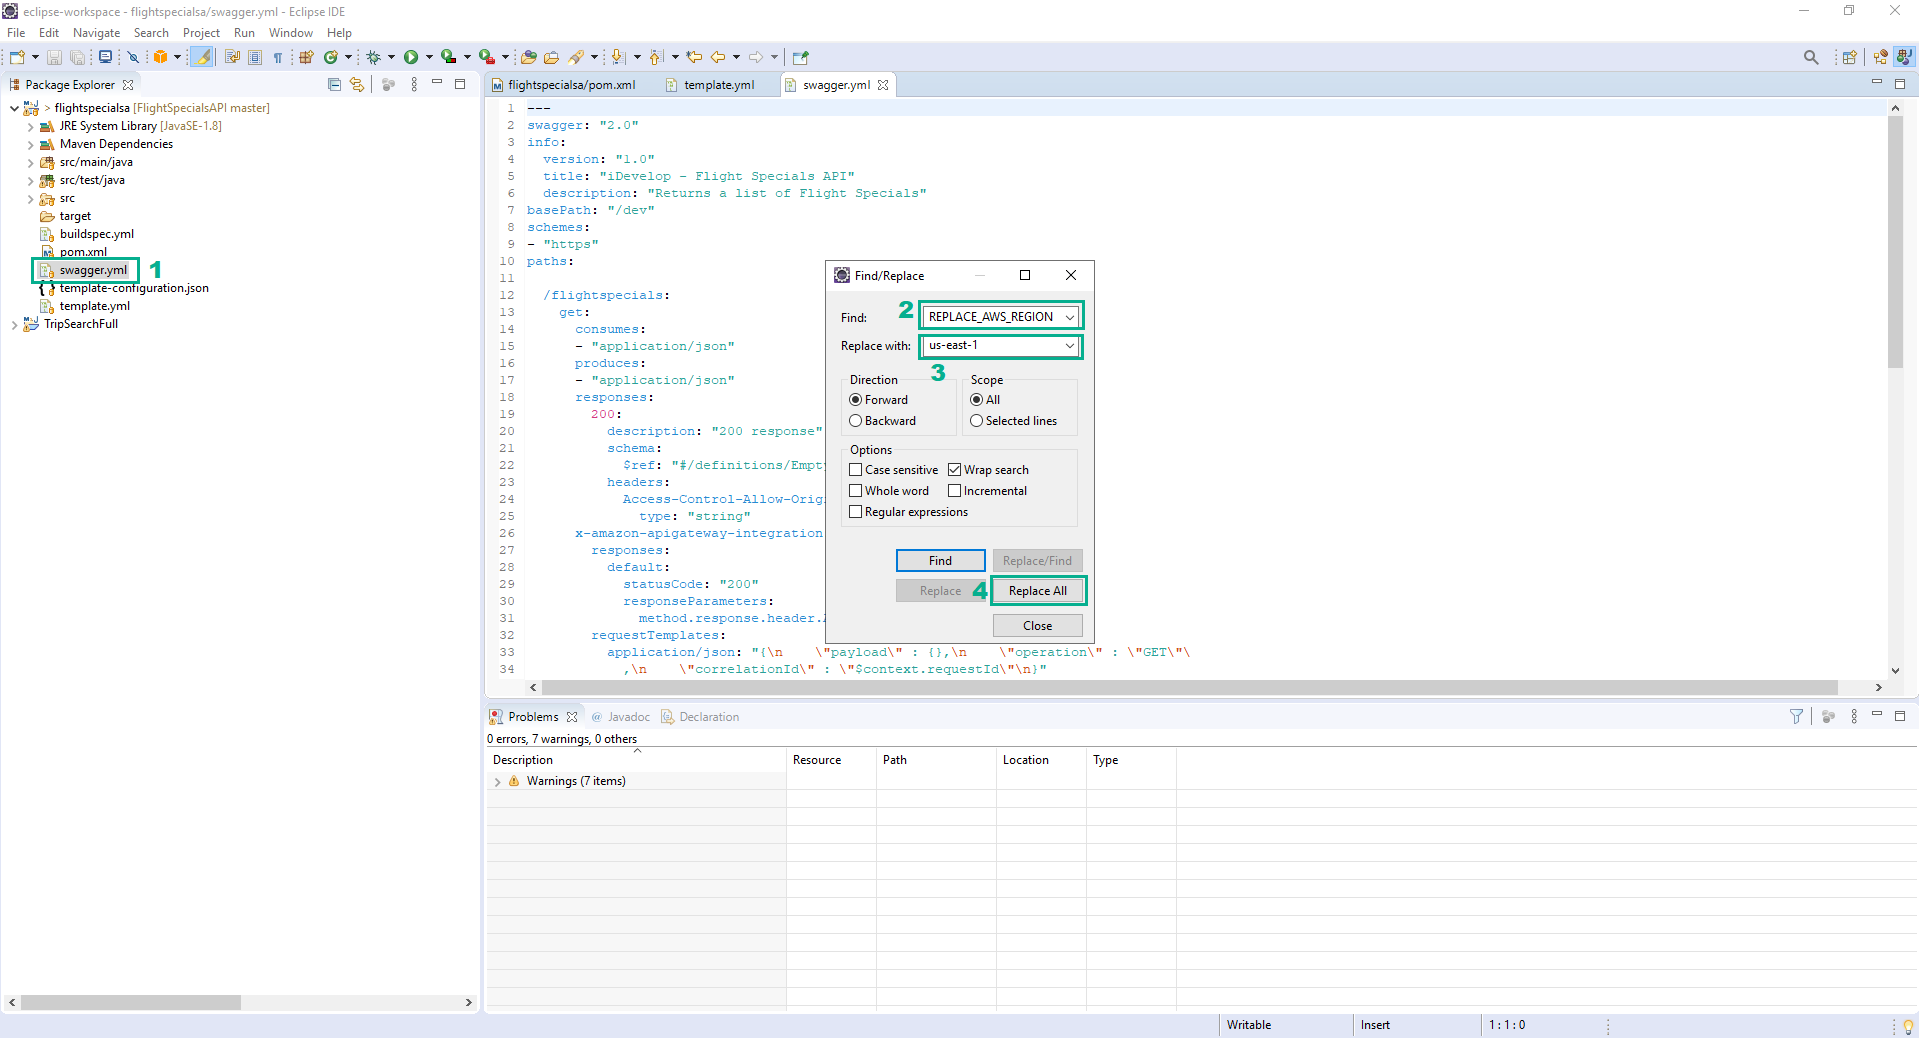
Update the target AWS region in the swagger.yml API definition file
The swagger.yml file provided in the zip bundle is the definition for the API that exposes the microservice via Amazon API Gateway. It needs to be updated with details of your lab AWS Account Id and target AWS Region before you can deploy your microservice.
- In the Eclipse IDE, open the swagger.yml file
- Press Ctrl+F shortcut
- In the Find section, type
REPLACE_AWS_REGION - In the Replace with section, type your Region
- Click Replace All to replace
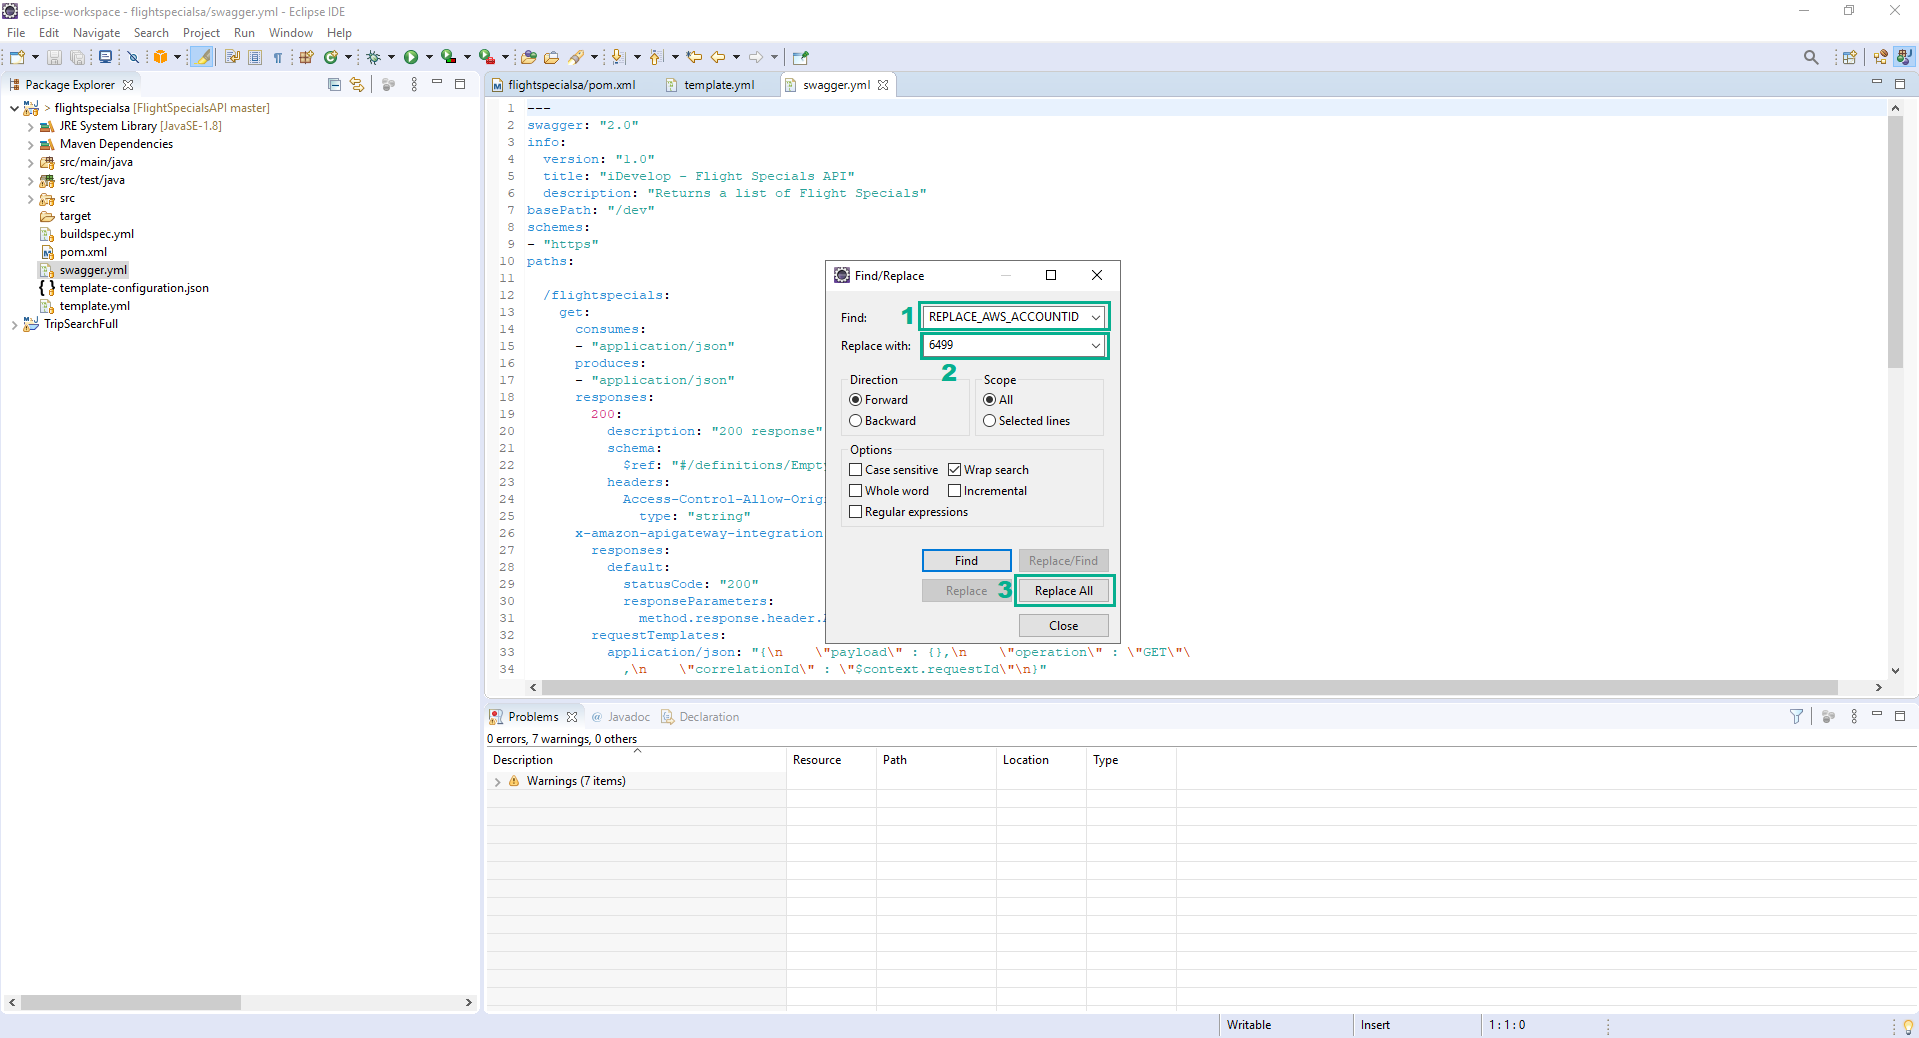
- In the Find section, type
REPLACE_AWS_ACCOUNTID
- In the Replace with section, type your AWS Account Id
- Click Replace All to replace
- Save
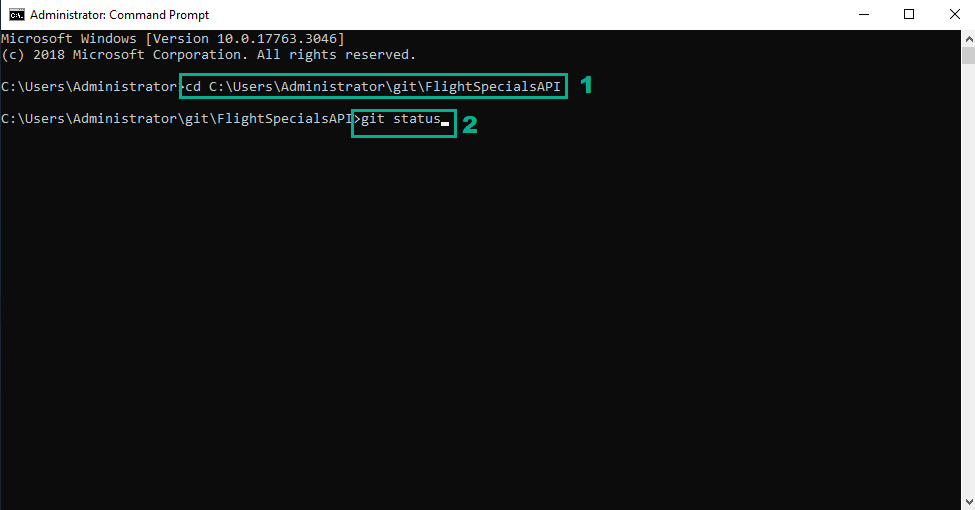
- Now that you have completed updating files, you need to add the changed files to your new-implementation git branch and commit the files.
- Open Command Prompt, execute the below command to navigate to the directory of the FlightSpecialsAPI folder and review the changed code files
cd C:\Users\Administrator\git\FlightSpecialsAPI
git status
 28. Execute the below command to add in the changed files
git add .
git commit -m "Baseline implementation"
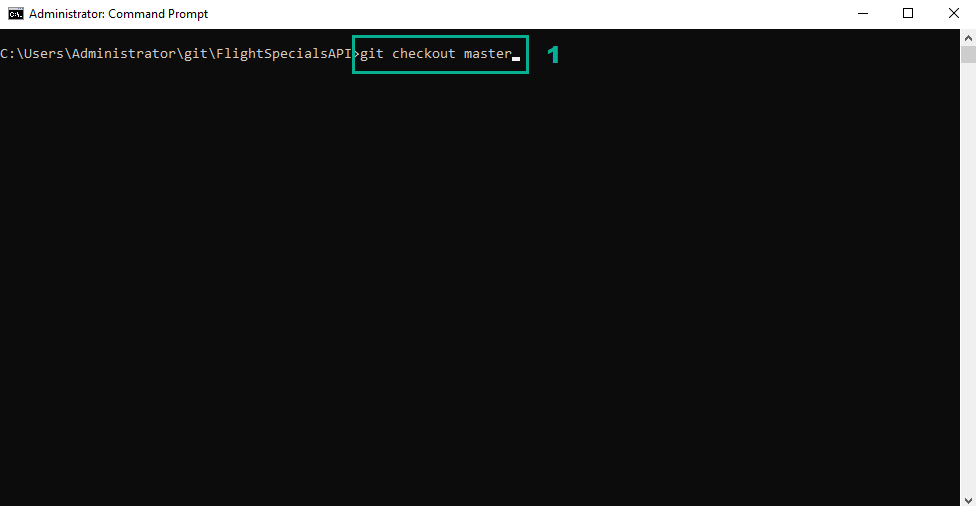
 29. Execute the below command to switch back to the master branch
git checkout master
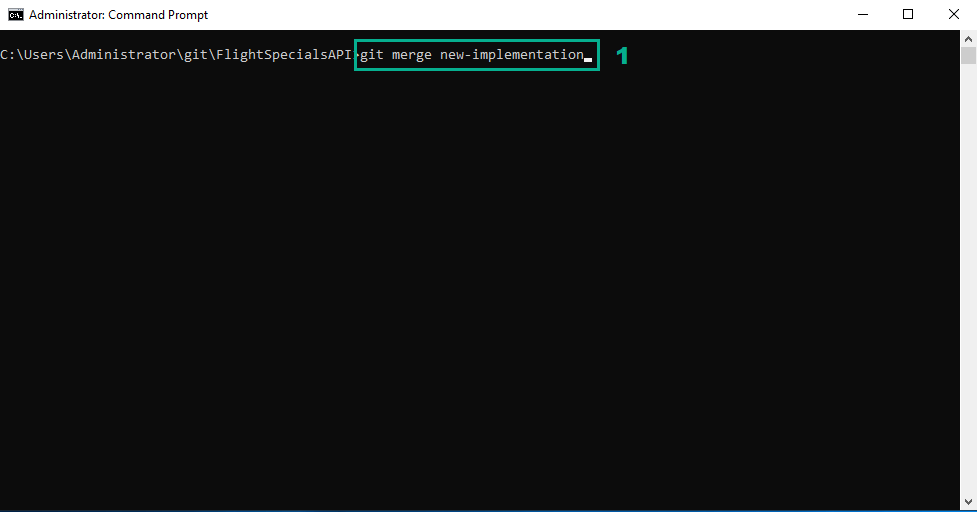
 30. Execute the below command to merge the changes for your new-implementation branch into the master branch
git merge new-implementation
 31. In the Eclipse IDE, right-click on the FlightSpecialsAPI project
- Click Team
- Click Push to origin.

- Click Close

You need to perform the push from Eclipse because the git credentials are embedded within the Eclipse environment. You could also configure the command line environment with the git credentials but that is beyond the scope of this lab.
It will take a few moments to push the code and commence the deployment. Checking in the source code and templates will trigger the pipeline to build and deploy the new implementation. AWS CodePipeline will now use CloudFormation to deploy the following resources:
- The Lambda function implemented by the Java code you checked into CodeCommit
- IAM role for the Lambda function
- API Gateway configuration for the API
While you have some time, spend a few minutes to explore the buildspec.yml, swagger.yml and template.yml files which define the Amazon API Gateway, AWS Lambda function and the build/deployment process through AWS CodeBuild. You will notice that the builspec.yml file uses the same AWS CLI command to package the deployment that you used when you manually packaged the HotelSpecials API earlier.
Do not execute these commands below, they are here as a reference!
mvn package shade:shade
aws cloudformation package --template template.yml --s3-bucket $S3_BUCKET --output-template template-export.yml
The template.yml file uses the Serverless Application Model (SAM) transform to define the REST API, as opposed to how we approached this in the HotelSpecials API example. In HotelSpecials, the CloudFormation template used canonical CloudFormation to define the REST API so that it could be explicit about the API definition and include the swagger definition inline. The FlightSpecials example uses a more declarative approach and left the details to SAM. You are free to mix CloudFormation and SAM in the same template, as you can see from these examples.
Test the FlightSpecials API
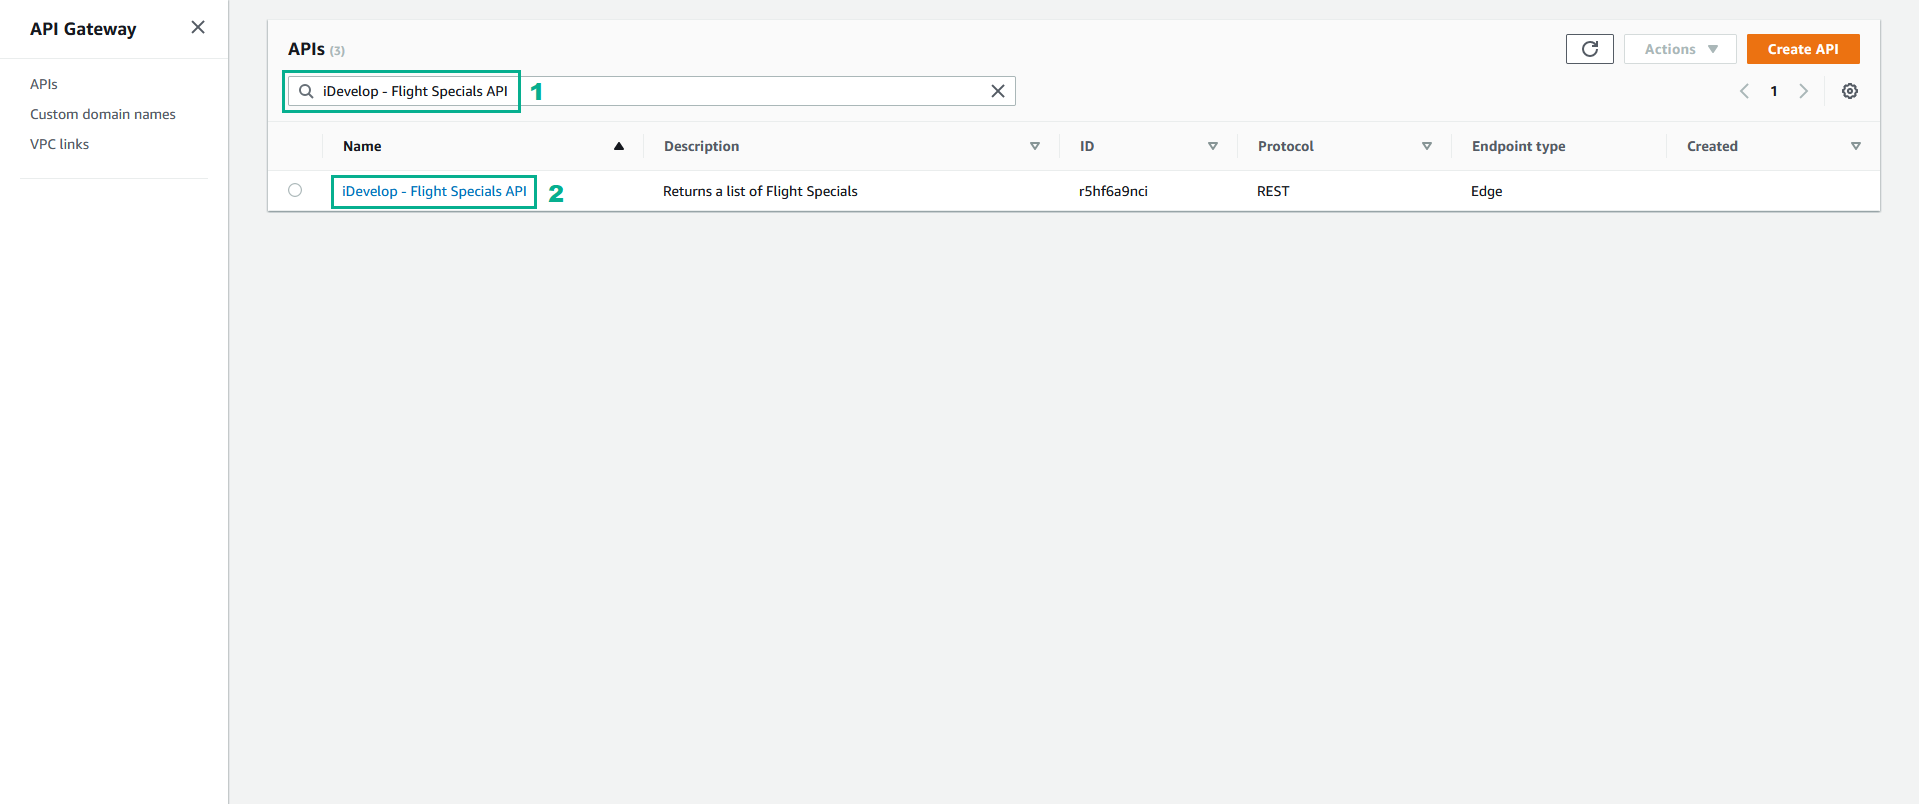
- Go to AWS API Gateway console
- Type iDevelop - Flight Specials API to the search bar and press Enter
- Click iDevelop - Flight Specials API
- Click Stages
- Expand the prod root element
- Click GET
- Click Invoke URL

- After a moment while the Lambda function is initialised, you should see the JSON result of querying the mySQL database from the Lambda function
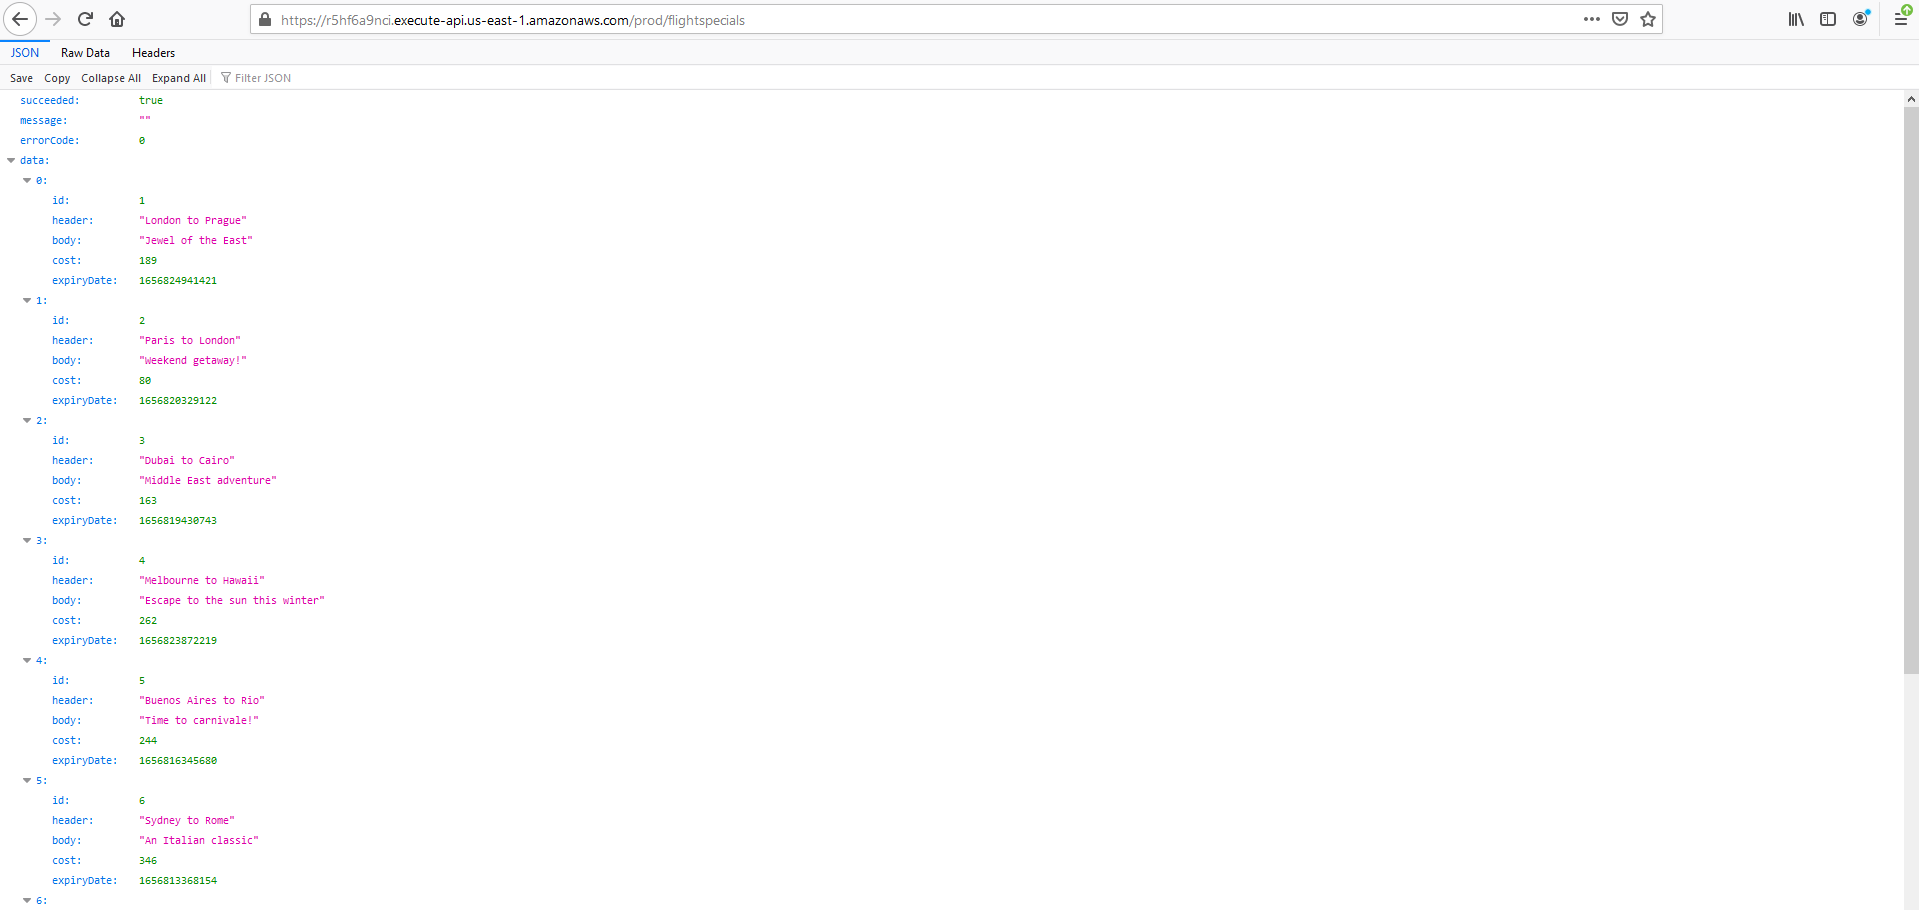
If you see a JSON payload with no errors, you have successfully deployed an API and supporting Lambda function that queries the mySQL database. Notice how much quicker and easier that was to deploy without any manual intervention, and you didn’t even have to interact with the AWS CLI or Console? Everything was driven by the source control check-in process.
You are now ready to integrate these APIs with the TravelBuddy web site.