Add New User Sign Up and Sign In
Add New User Sign Up and Sign In
- Go to Amazon Cognito Console.
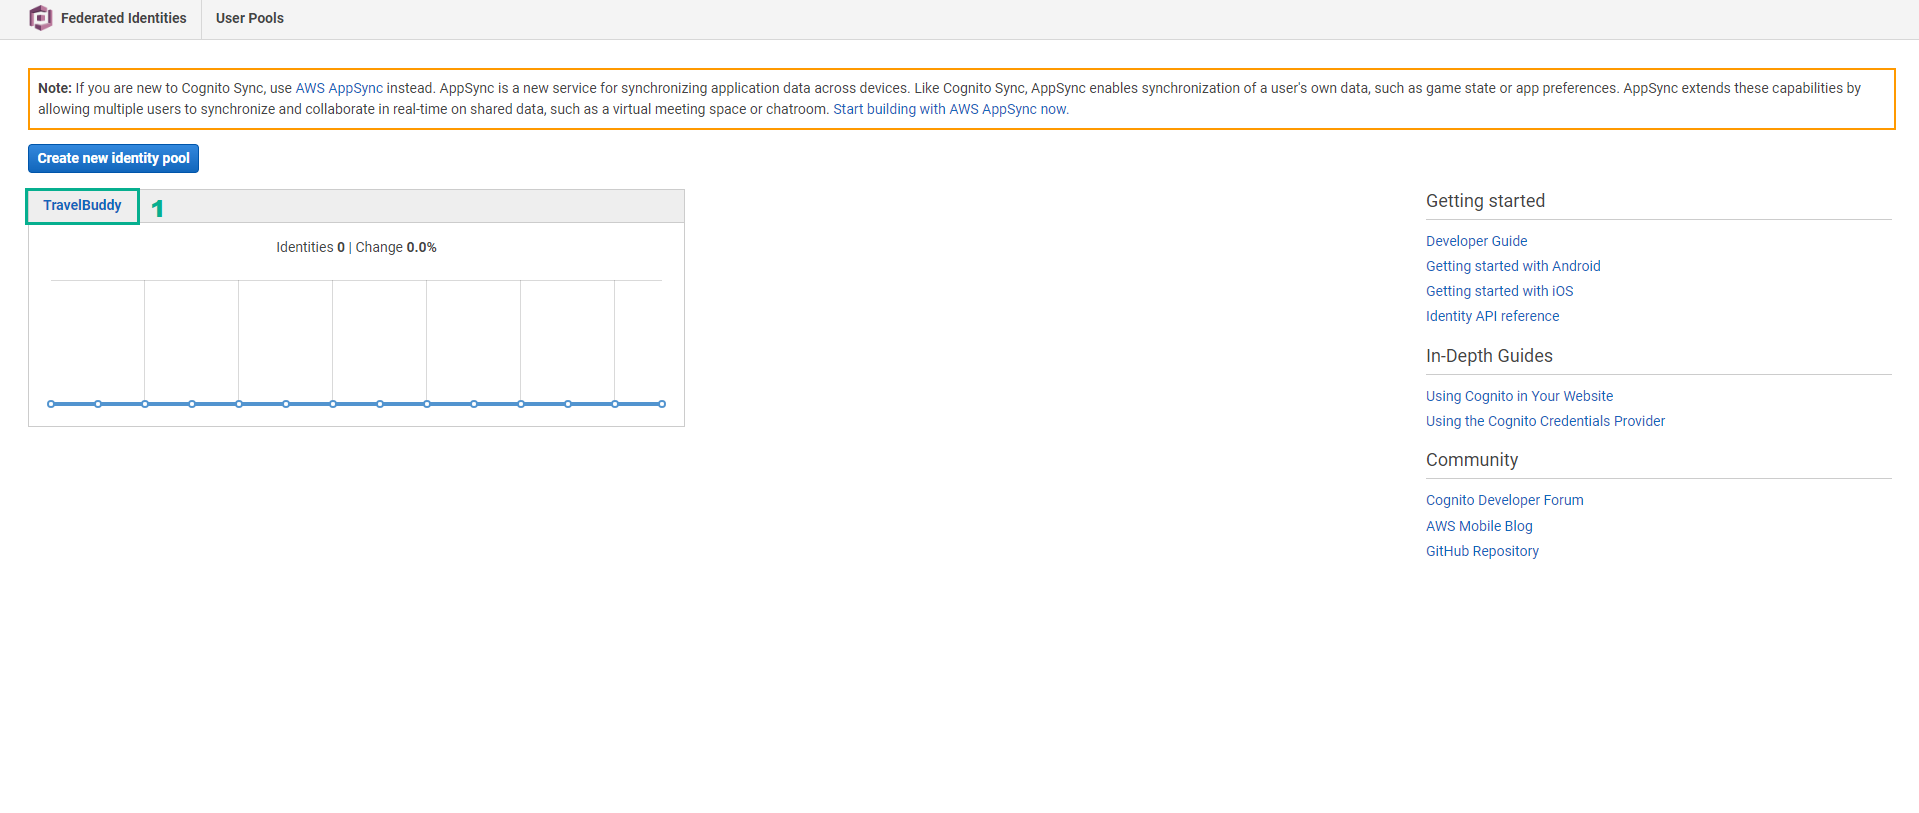
- Click Federated Identities
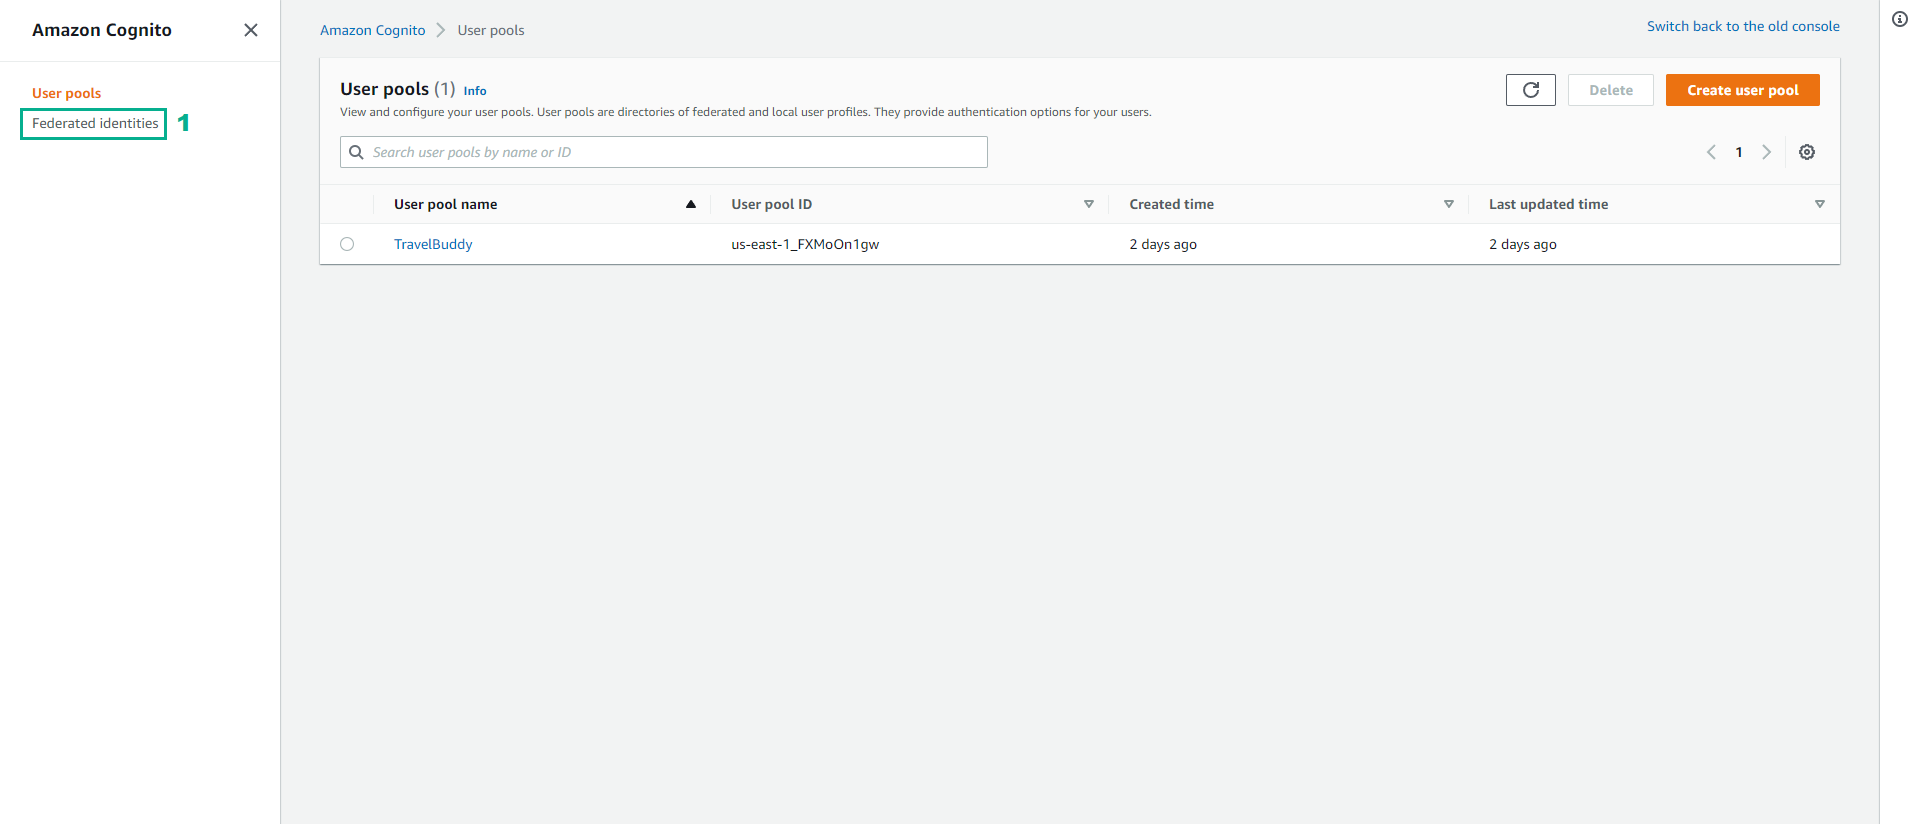
- Click TravelBuddy
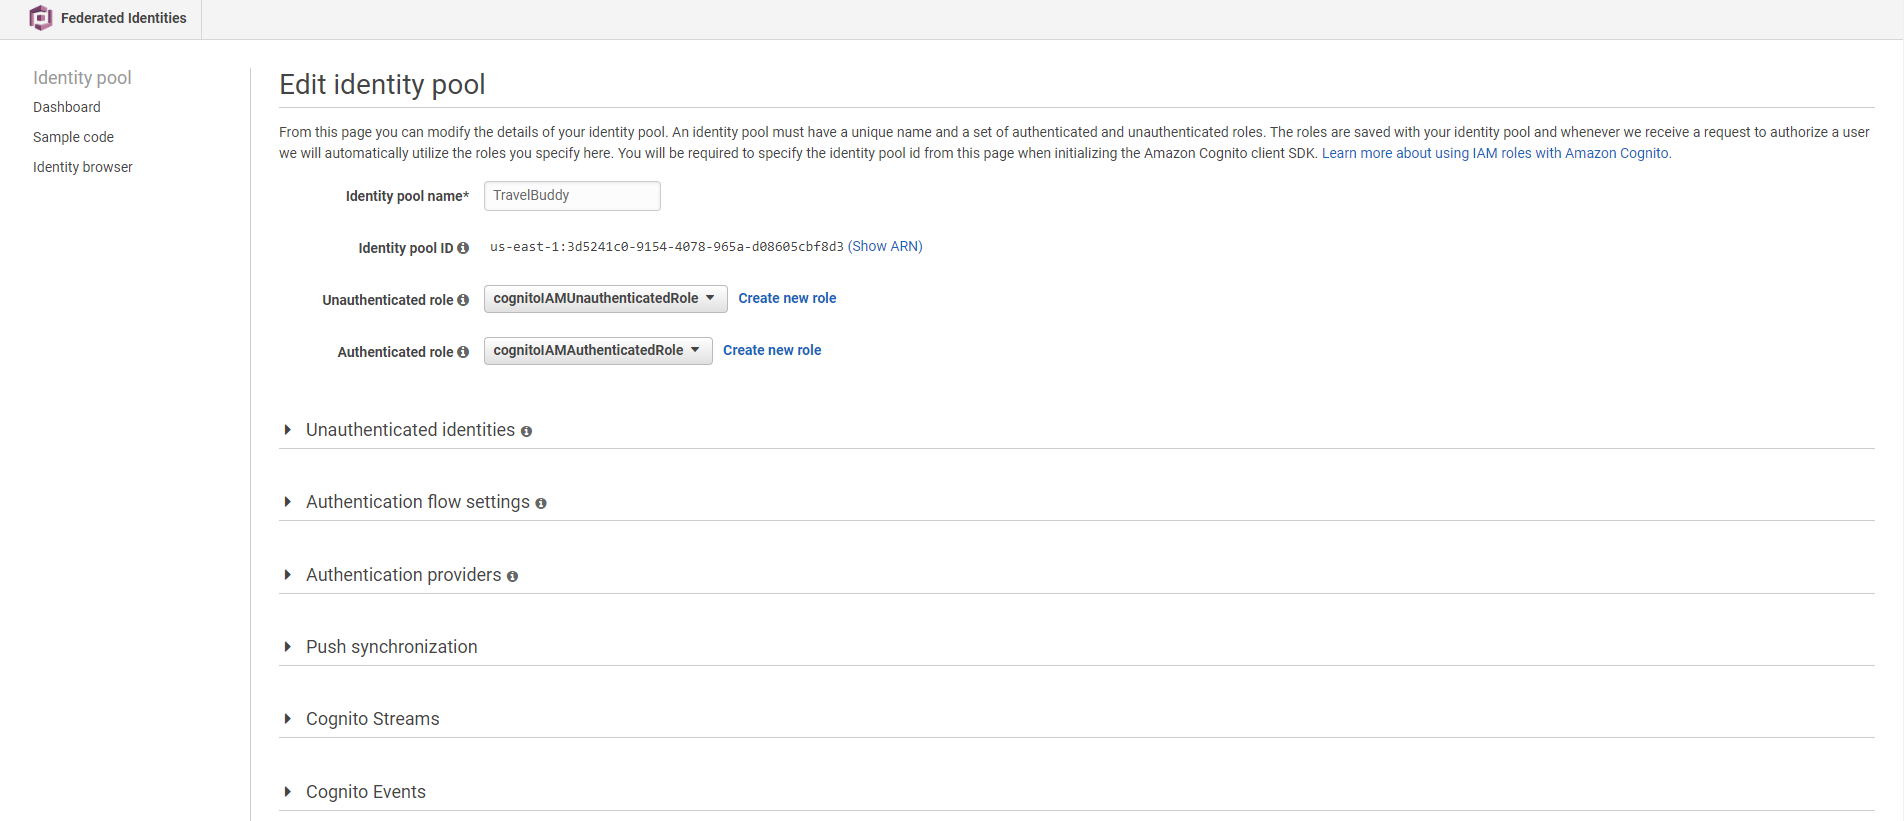
- Click Edit identity pool
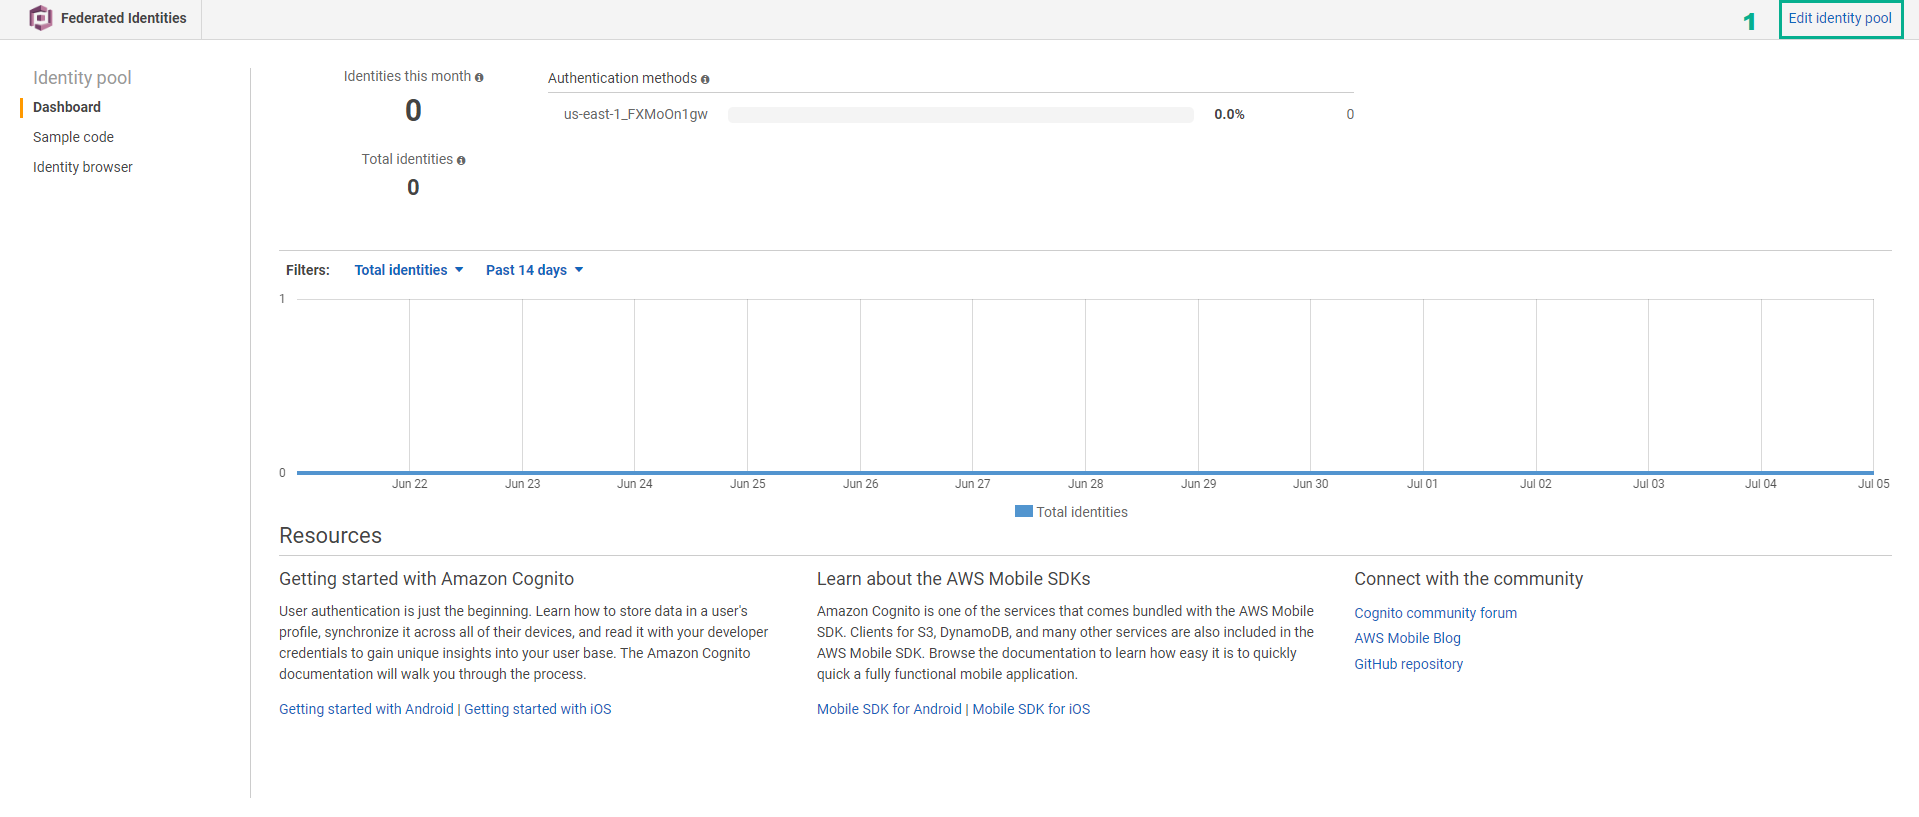
- Here we can set up Unauthenticated roles (roles which are assumed when a user is not signed in), and Authenticated roles (roles which are assumed when a user is signed in).
- Verify that the Unauthenticated role is set to the role that contains the string CognitoIAMUnauthenticatedRole. This was created during lab setup.
- Verify that the Authenticated role is set to the role that contains the string CognitoIAMAuthenticatedRole. This was created during lab setup.
You now have everything in place to register and sign-in as a user, and then test the signed-in behaviour of the /trips microservice now that it is protected by requiring authorization.
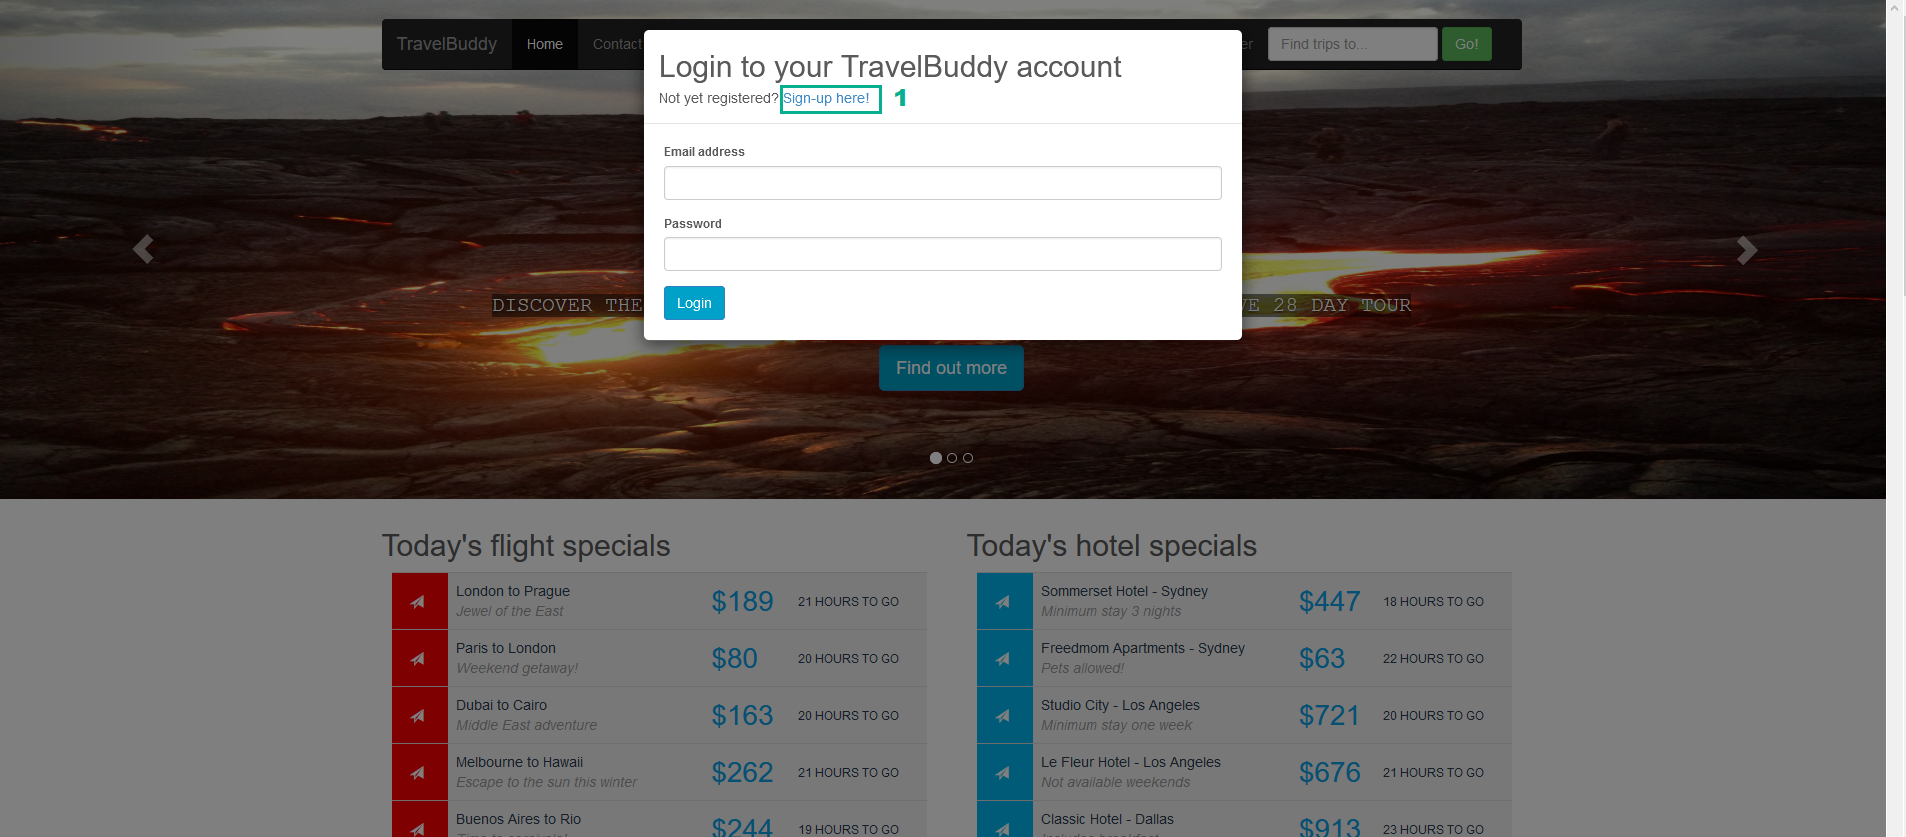
- In the TravelBuddy page, click Login or Register

- Click Sign-up here!
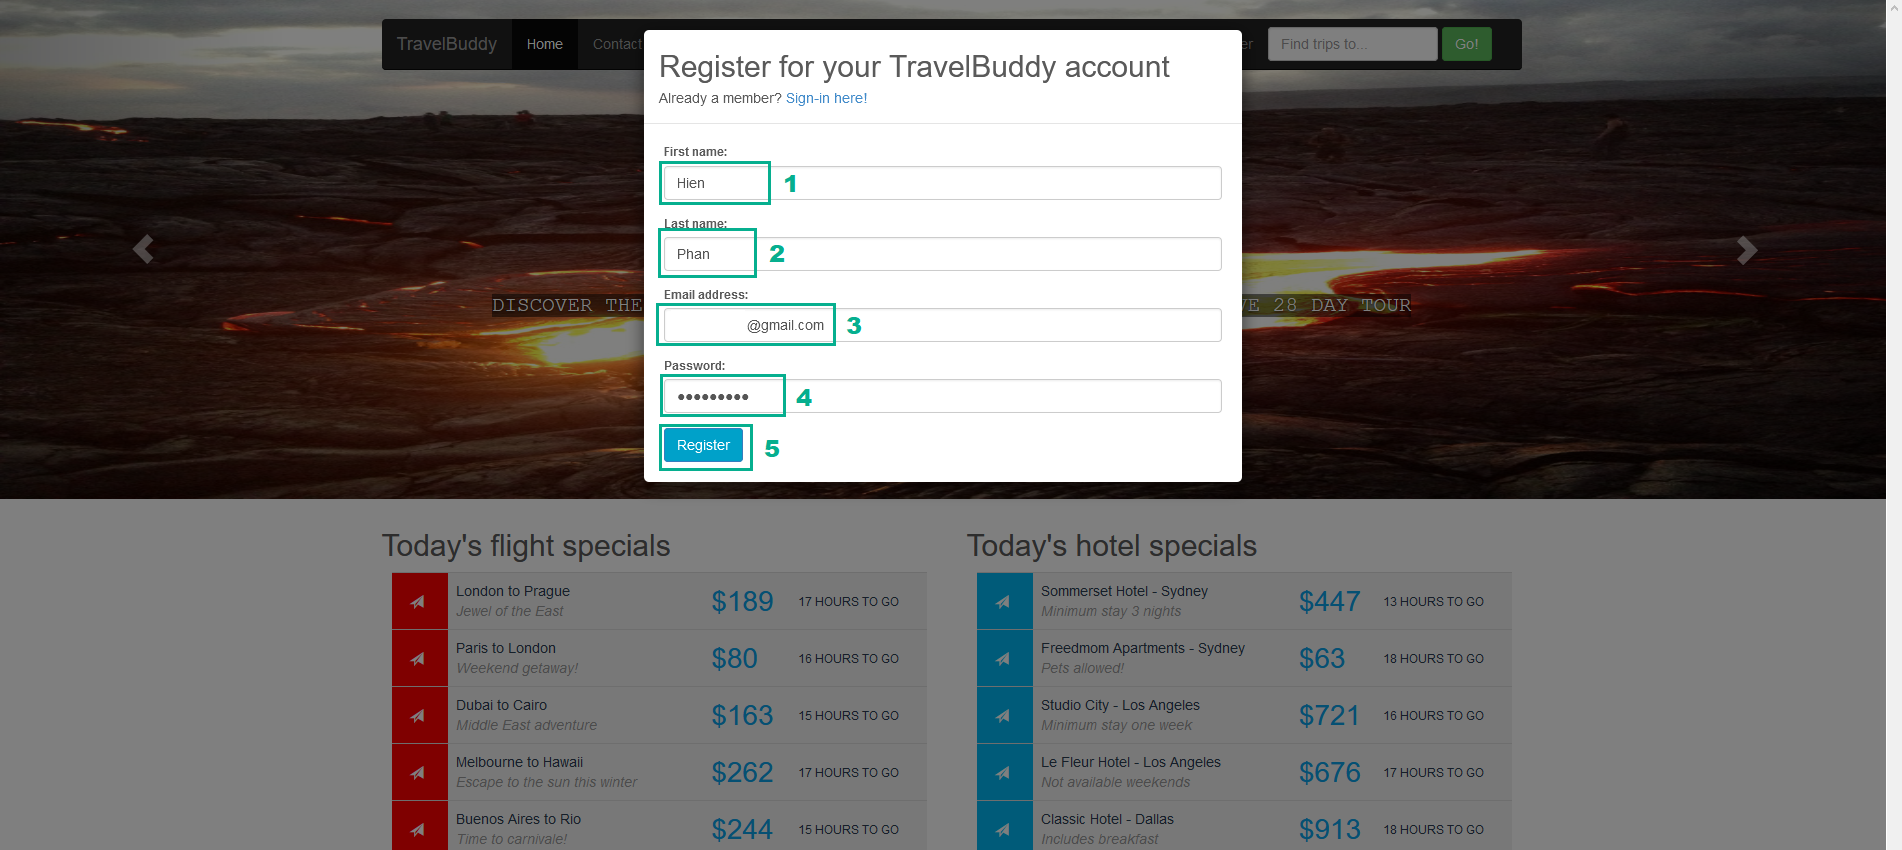
- In the First Name section, type your first name
- In the Last Name section, type your last name
- In the Email Address section, type your email
You must provide a valid email address and one that you have access to immediately, in order to retrieve the verification code you will be sent.
- In the Password section, type your password
- Click Register
- Check your email, save the verification code
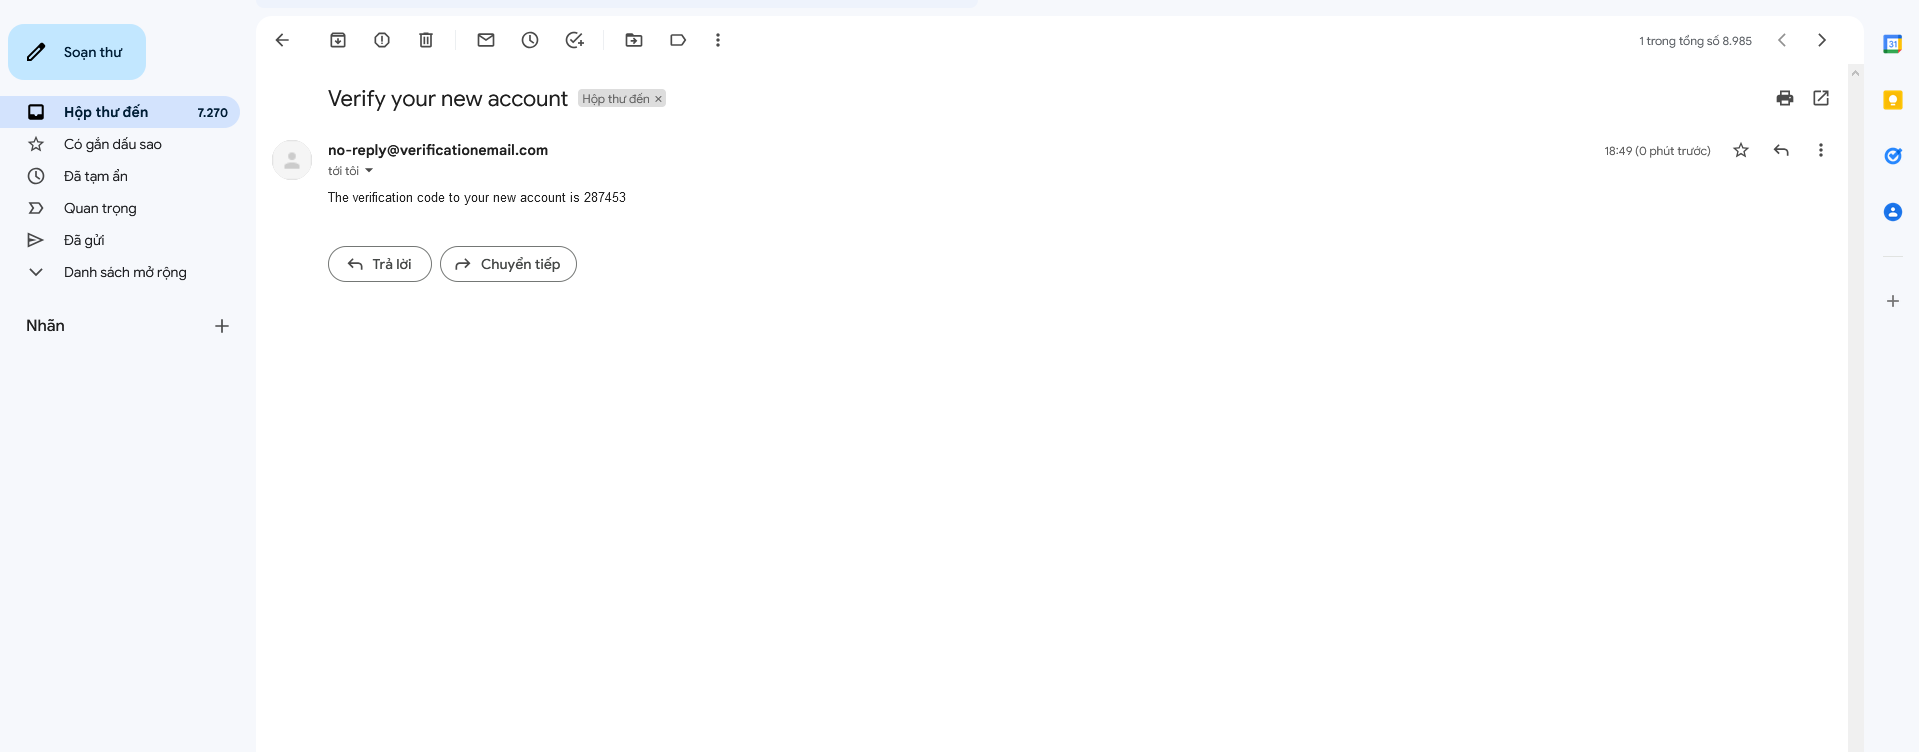
- In the Verification Code section, type the verification code we saved in step 8
- Click Verify

- Sign-in using the credentials (email address and password) you provided during registration.

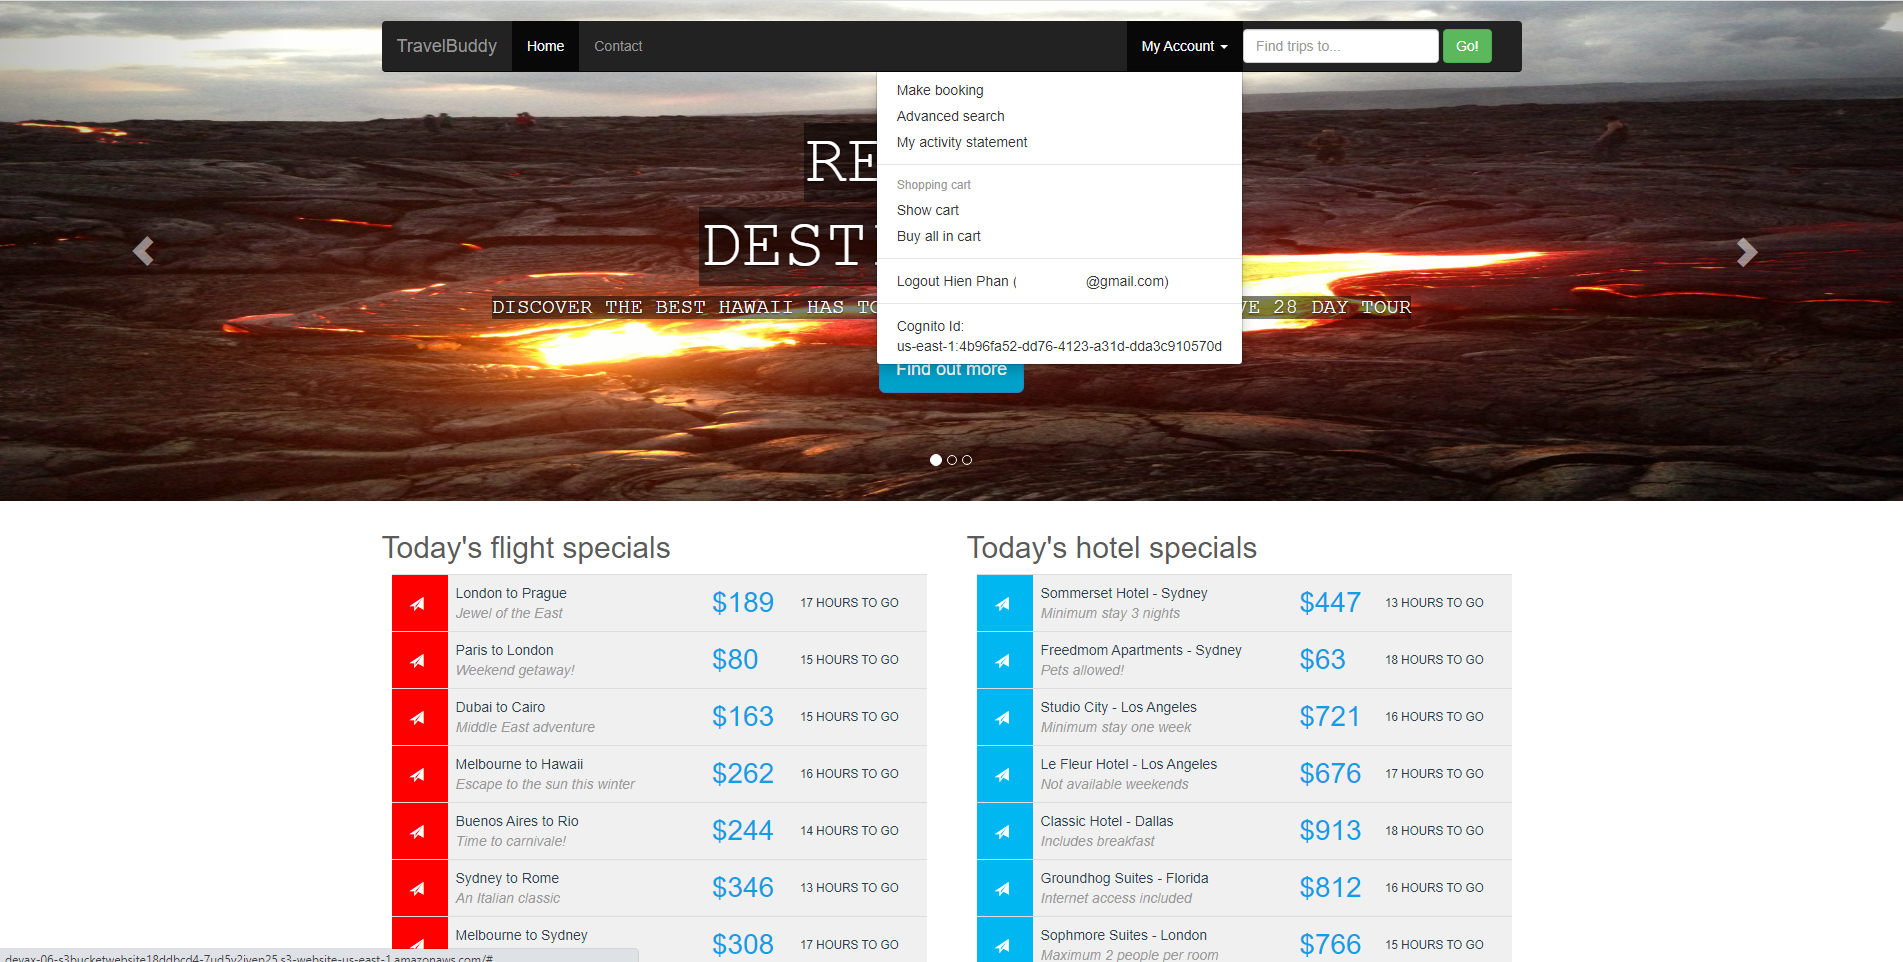
- You will now be signed in and the banner will change to show My Account
- Click My Account, we will see the only feature that is implemented is the Logout option.
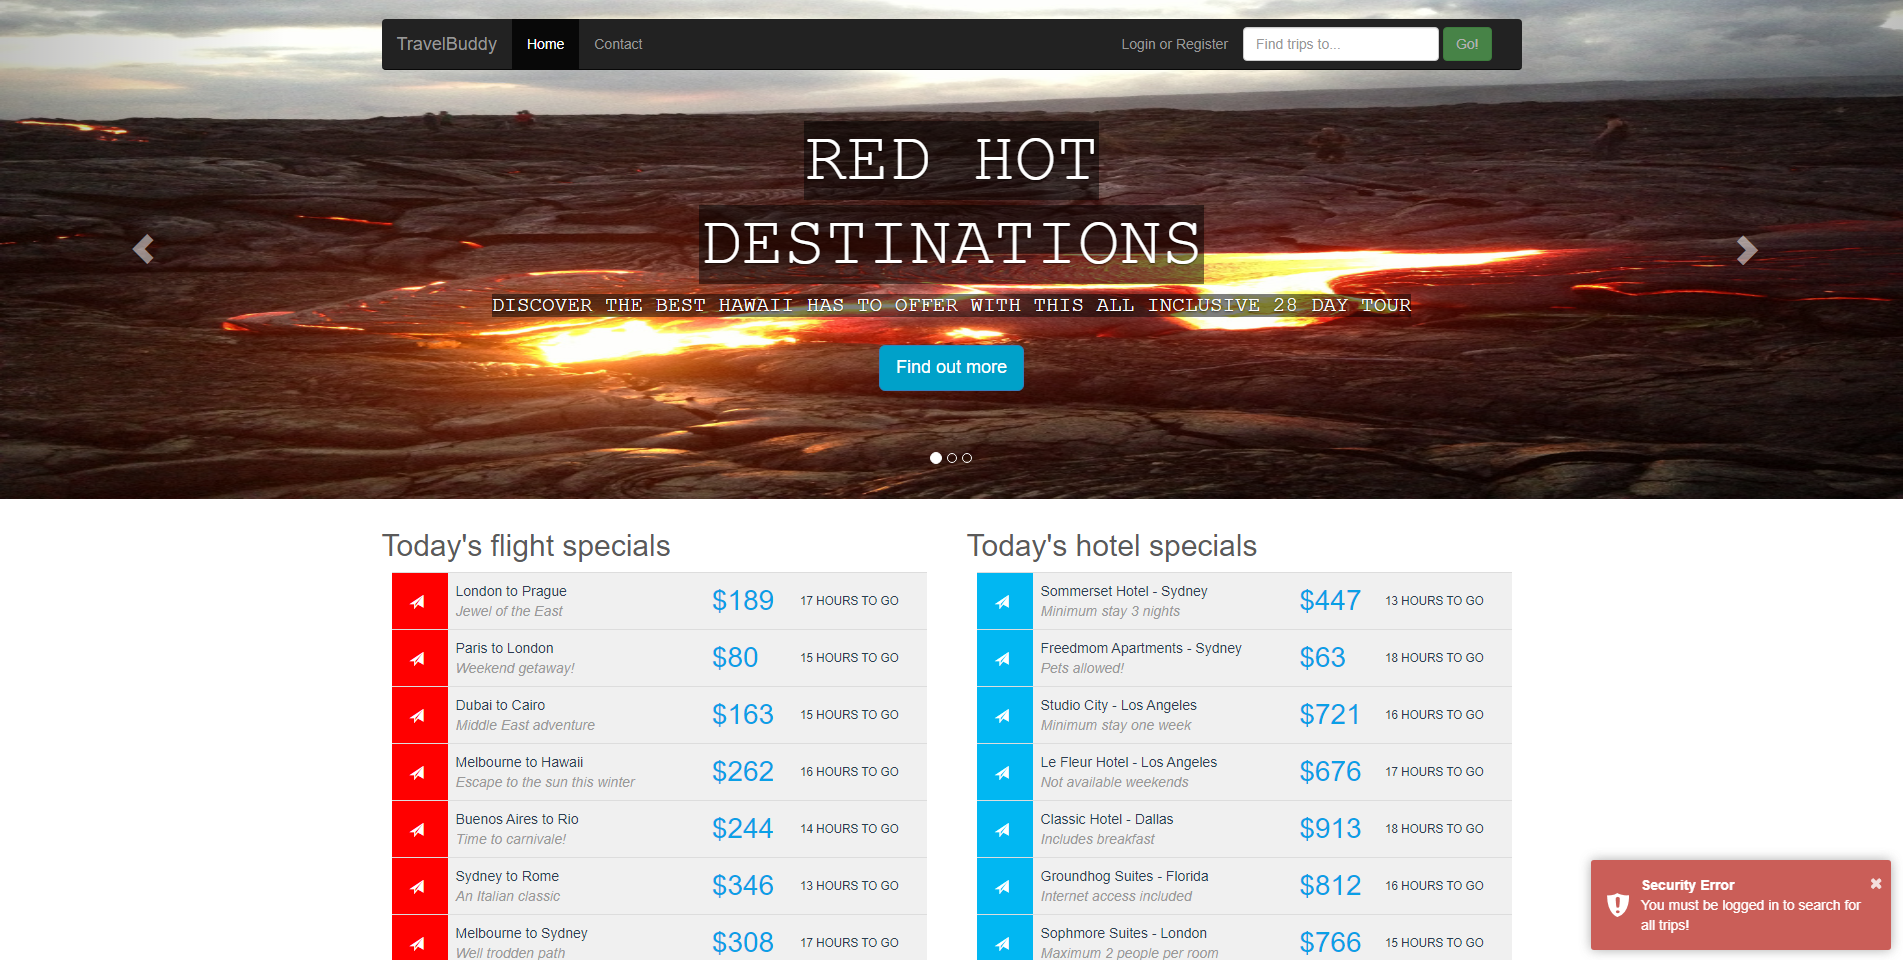
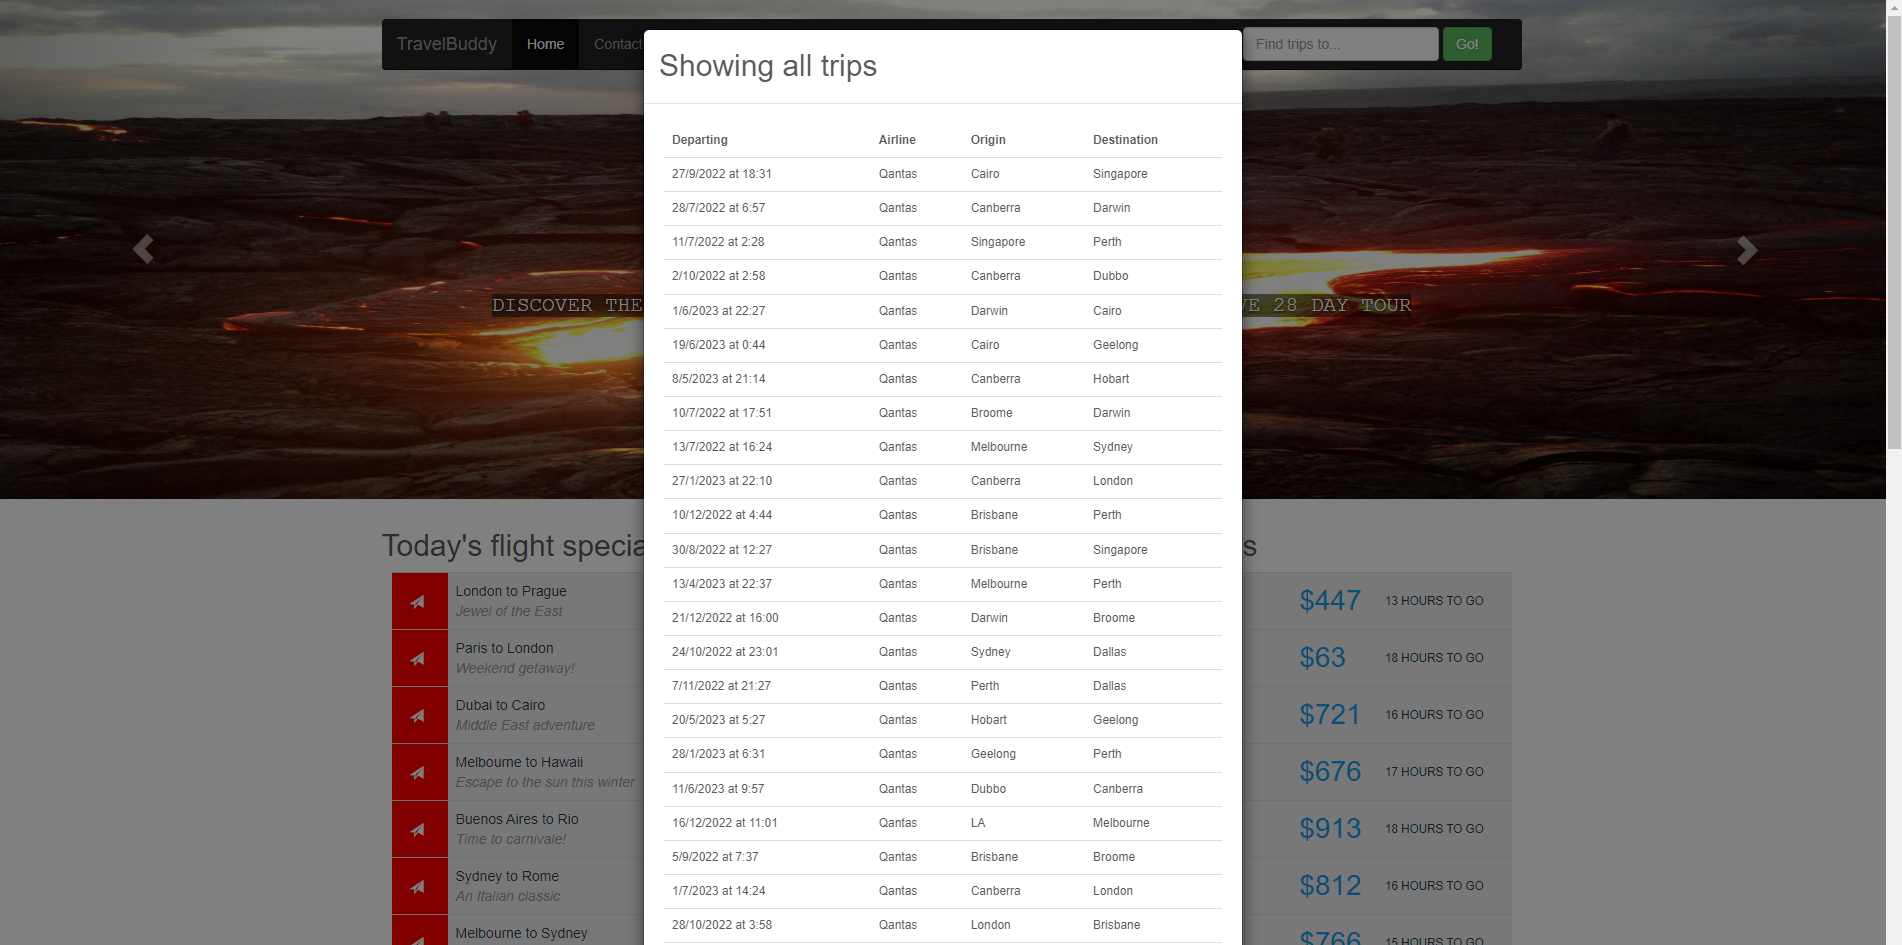
- Click Go! without any text entered. We are shown the full trips list in a dialog
- Sign out and click Go! without any text entered. We will see the error message again.